Texecom with GT/GT+/GET quick setup
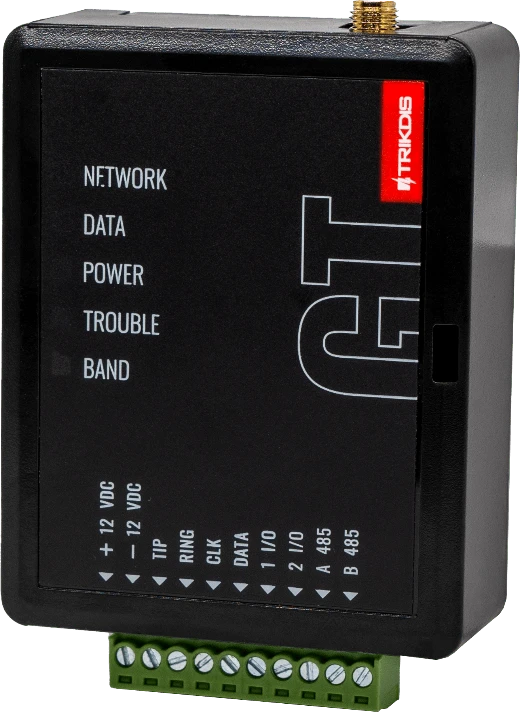
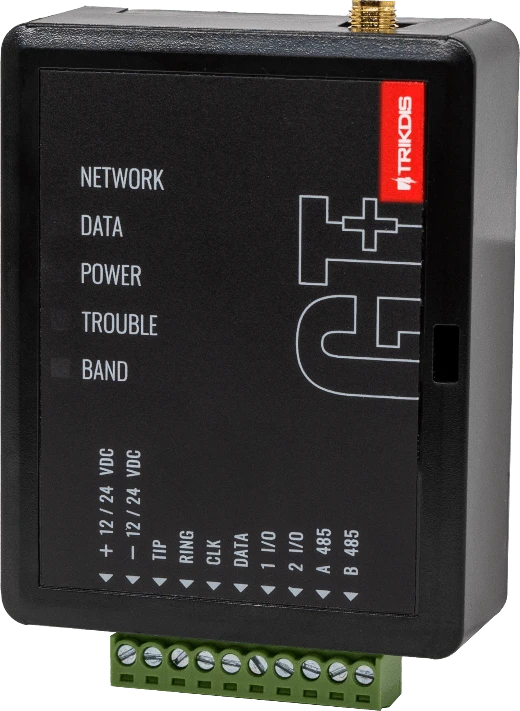
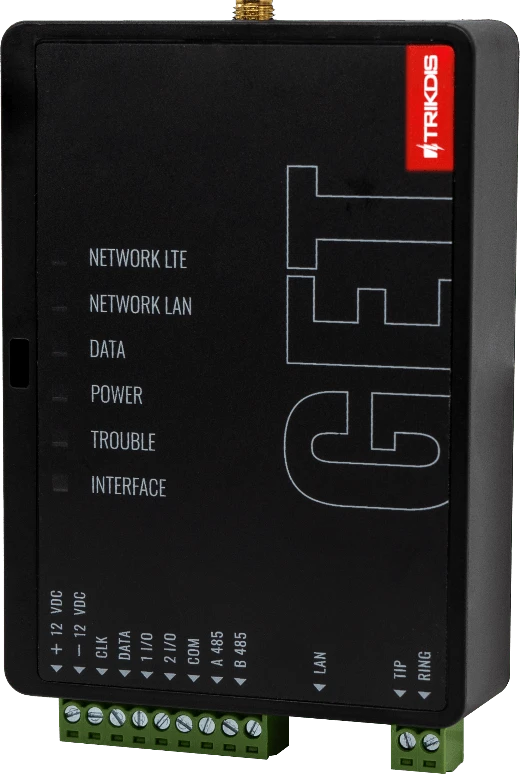
Short wiring and programming steps to connect the GT/GT+/GET communicator to Texecom Premier and Premier Elite panels using serial bus, then enroll the system in Protegus2. Use this alongside the full manuals for all other settings. (Terminal labels differ slightly between GT/GT+/GET, but the connections are the same.)
Caution
Install and service only by qualified personnel. Disconnect power before wiring. Unauthorized changes void warranty.
1. Prerequisites
- GT/GT+/GET firmware 1.21, SIM inserted, PIN disabled, data plan active.
- Texecom Premier / Premier Elite panel with installer access.
- Texecom EX-CRP4 cable for serial connection.
- CMS account number if reporting to CMS.
- Protegus2 company/installer account and communicator IMEI.
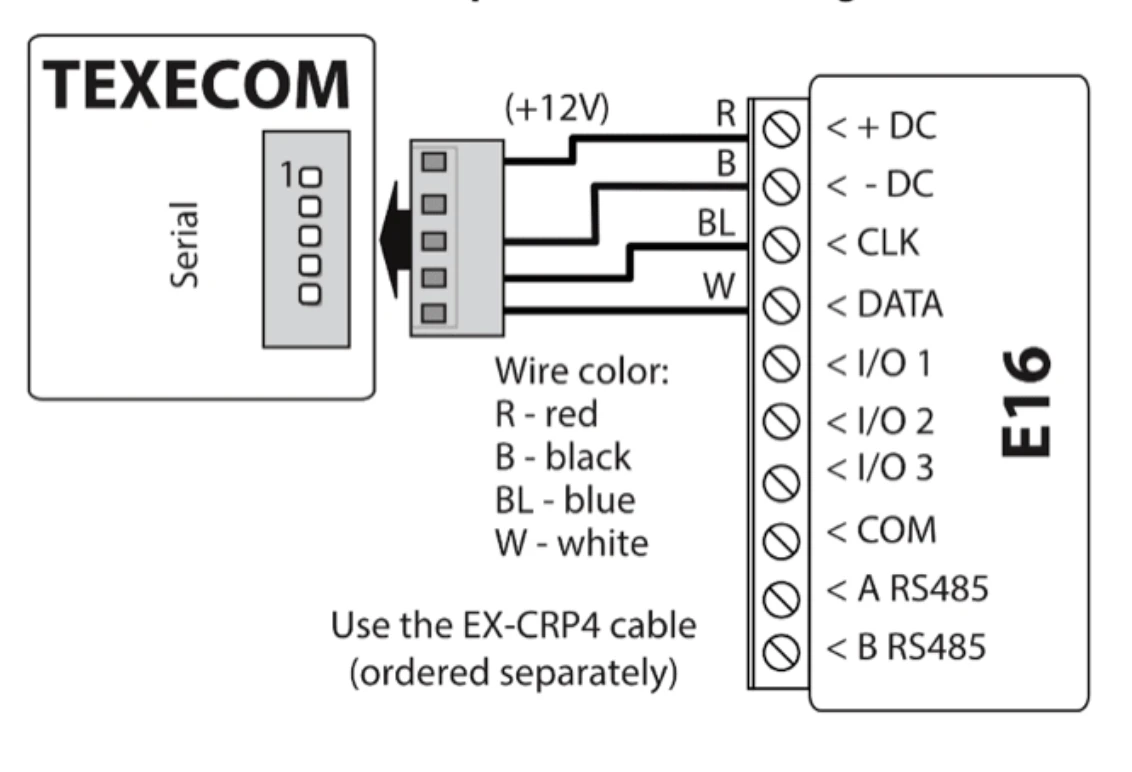
2. Wiring
Follow the schematic below to connect the communicator to the panel:
| GT/GT+/GET terminal | Texecom EX-CRP4 wire | Notes |
|---|---|---|
| +12V DC | R | +12V supply |
| -12V DC | B | Panel ground |
| CLK | BL | Serial bus |
| DATA | W | Serial bus |
3. Programming the Texecom Alarm Panel
Texecom control panels must be programmed for both event reading and remote control.
- In Wintex, open Communication Options and go to the Options tab.
- Enter the 4-digit UDL passcode.
- Make sure the UDL passcode matches the communicator PC login password used for remote control.
- If programming from a keypad, enter the 4-digit installer code and press [Menu] to enter programming mode.
- Press [9], then [7][6][2], and enter the 4-digit UDL passcode.
- Press [Yes] and leave programming mode by pressing [Menu].
4. Add system to Protegus2
Step 1. Tap Add new system. 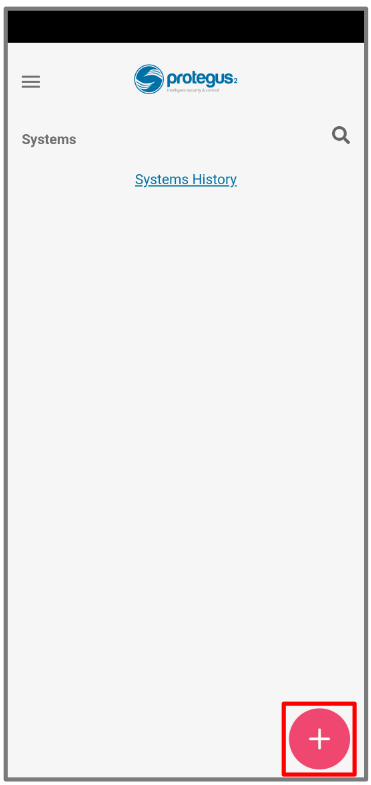
Step 2. Enter the communicator IMEI, tap Next. 
Step 3. Select security company. 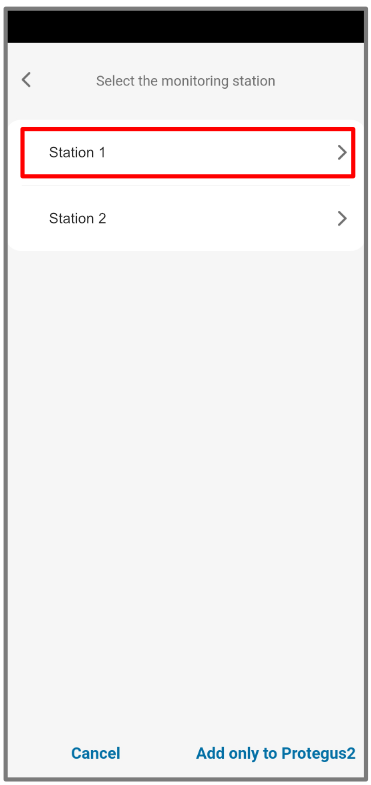
Step 4. Choose Texecom.
Step 5. Choose the matching Premier / Premier Elite model.
Step 6. Enter Object ID and Module ID, tap Next.
Step 7. Wait while data is written. 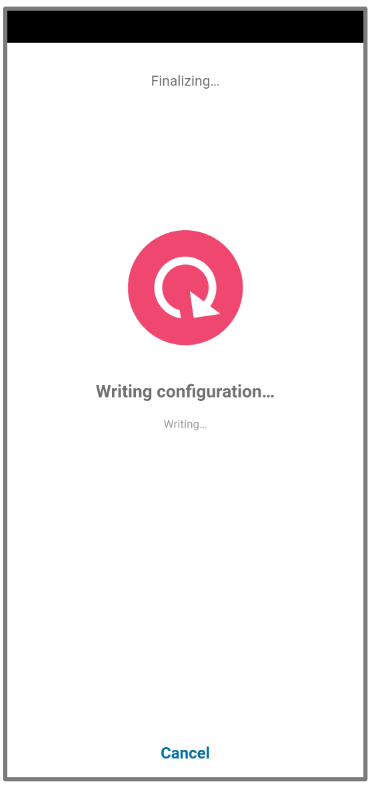
Step 8. Tap Add to Protegus2. 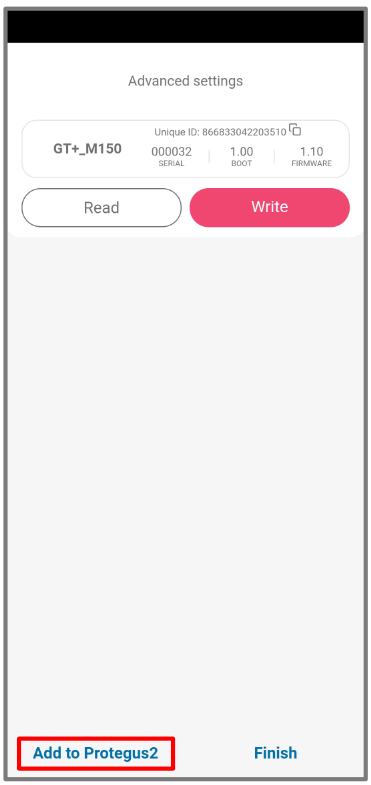
Step 9. Enter system Name, tap Next. 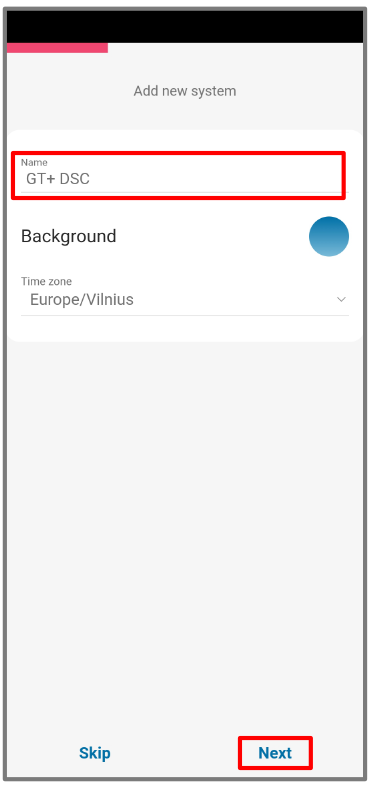
Step 10. Tap Skip. 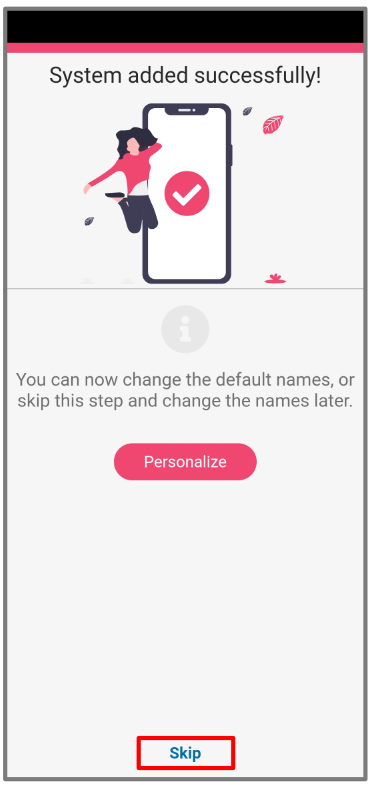
Step 11. Tap on system. 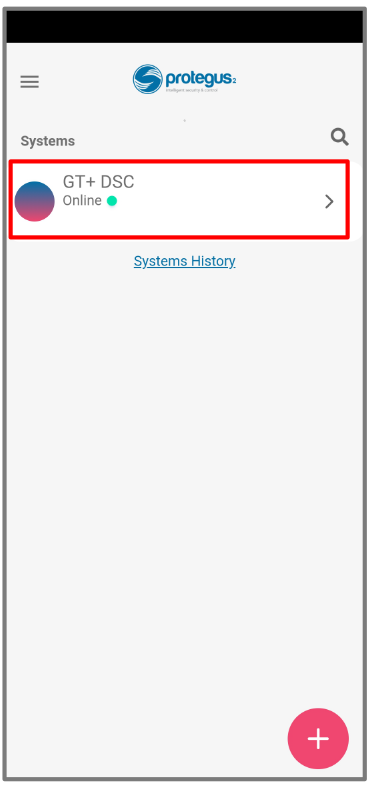
Step 12. Wait 1 minute for completion and tap Transfer. 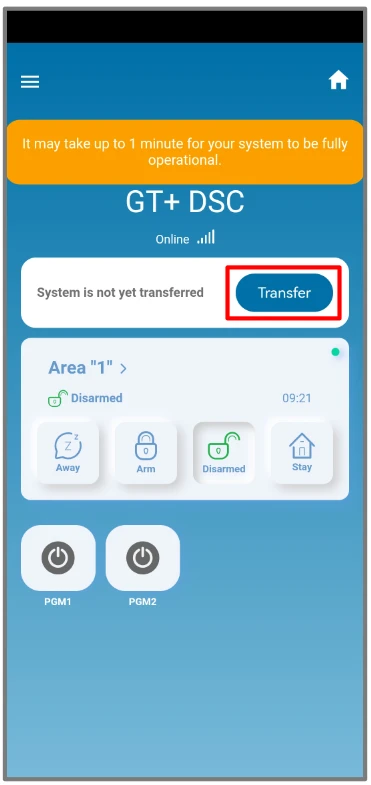
Step 13. Enter the e-mail of the user to whom the installer will transfer the system. Tap Transfer. 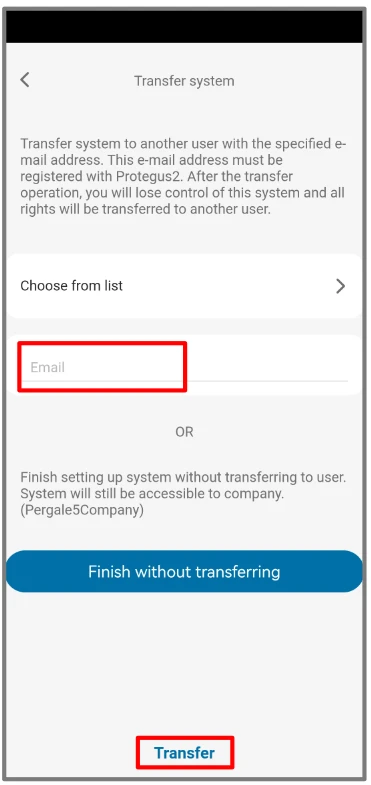
Step 14. The system will appear in Protegus on the user's phone. 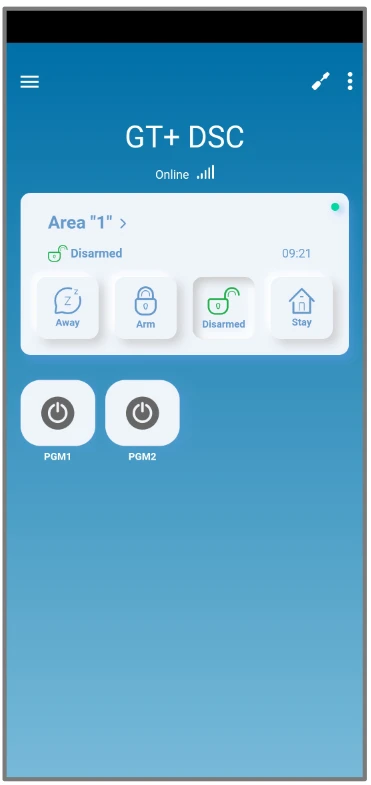
5. System check
Tip
After completing the setup and installation perform a system check:
- Create an event:
- by arming/disarming the system with the control panel's keypad.
- by triggering a zone alarm when the security system is armed.
- Make sure that the event arrives to the CMS (Central Monitoring Station) and the Protegus2 app.