GATOR LTE and GATOR WiFi with iO4R quick setup
Short wiring and Protegus2 programming steps to connect an iO4R expander to a GATOR LTE or GATOR WiFi gate controller. Use this alongside the full GATOR and GATOR WiFi manuals for all other installation and configuration settings.
The iO4R is used for advanced gate monitoring. It adds monitored guard inputs for gate safety sensors and allows an authorized temporary bypass when a sensor fault must be isolated until service can be performed. Protegus2 also counts full gate open/close cycles and alerts when maintenance is due, helping installers replace unplanned call-outs with scheduled service visits and recurring maintenance contracts.
Caution
Install and service only by qualified personnel. Disconnect mains and low-voltage power before wiring. Follow the gate operator manufacturer's safety instructions and local electrical regulations.
1. Prerequisites
- GATOR LTE or GATOR WiFi gate controller available for setup. Keep power disconnected while wiring.
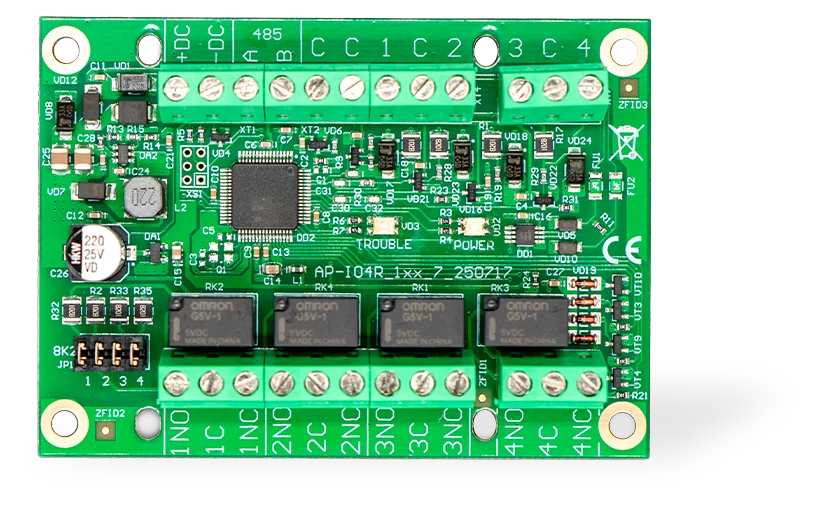
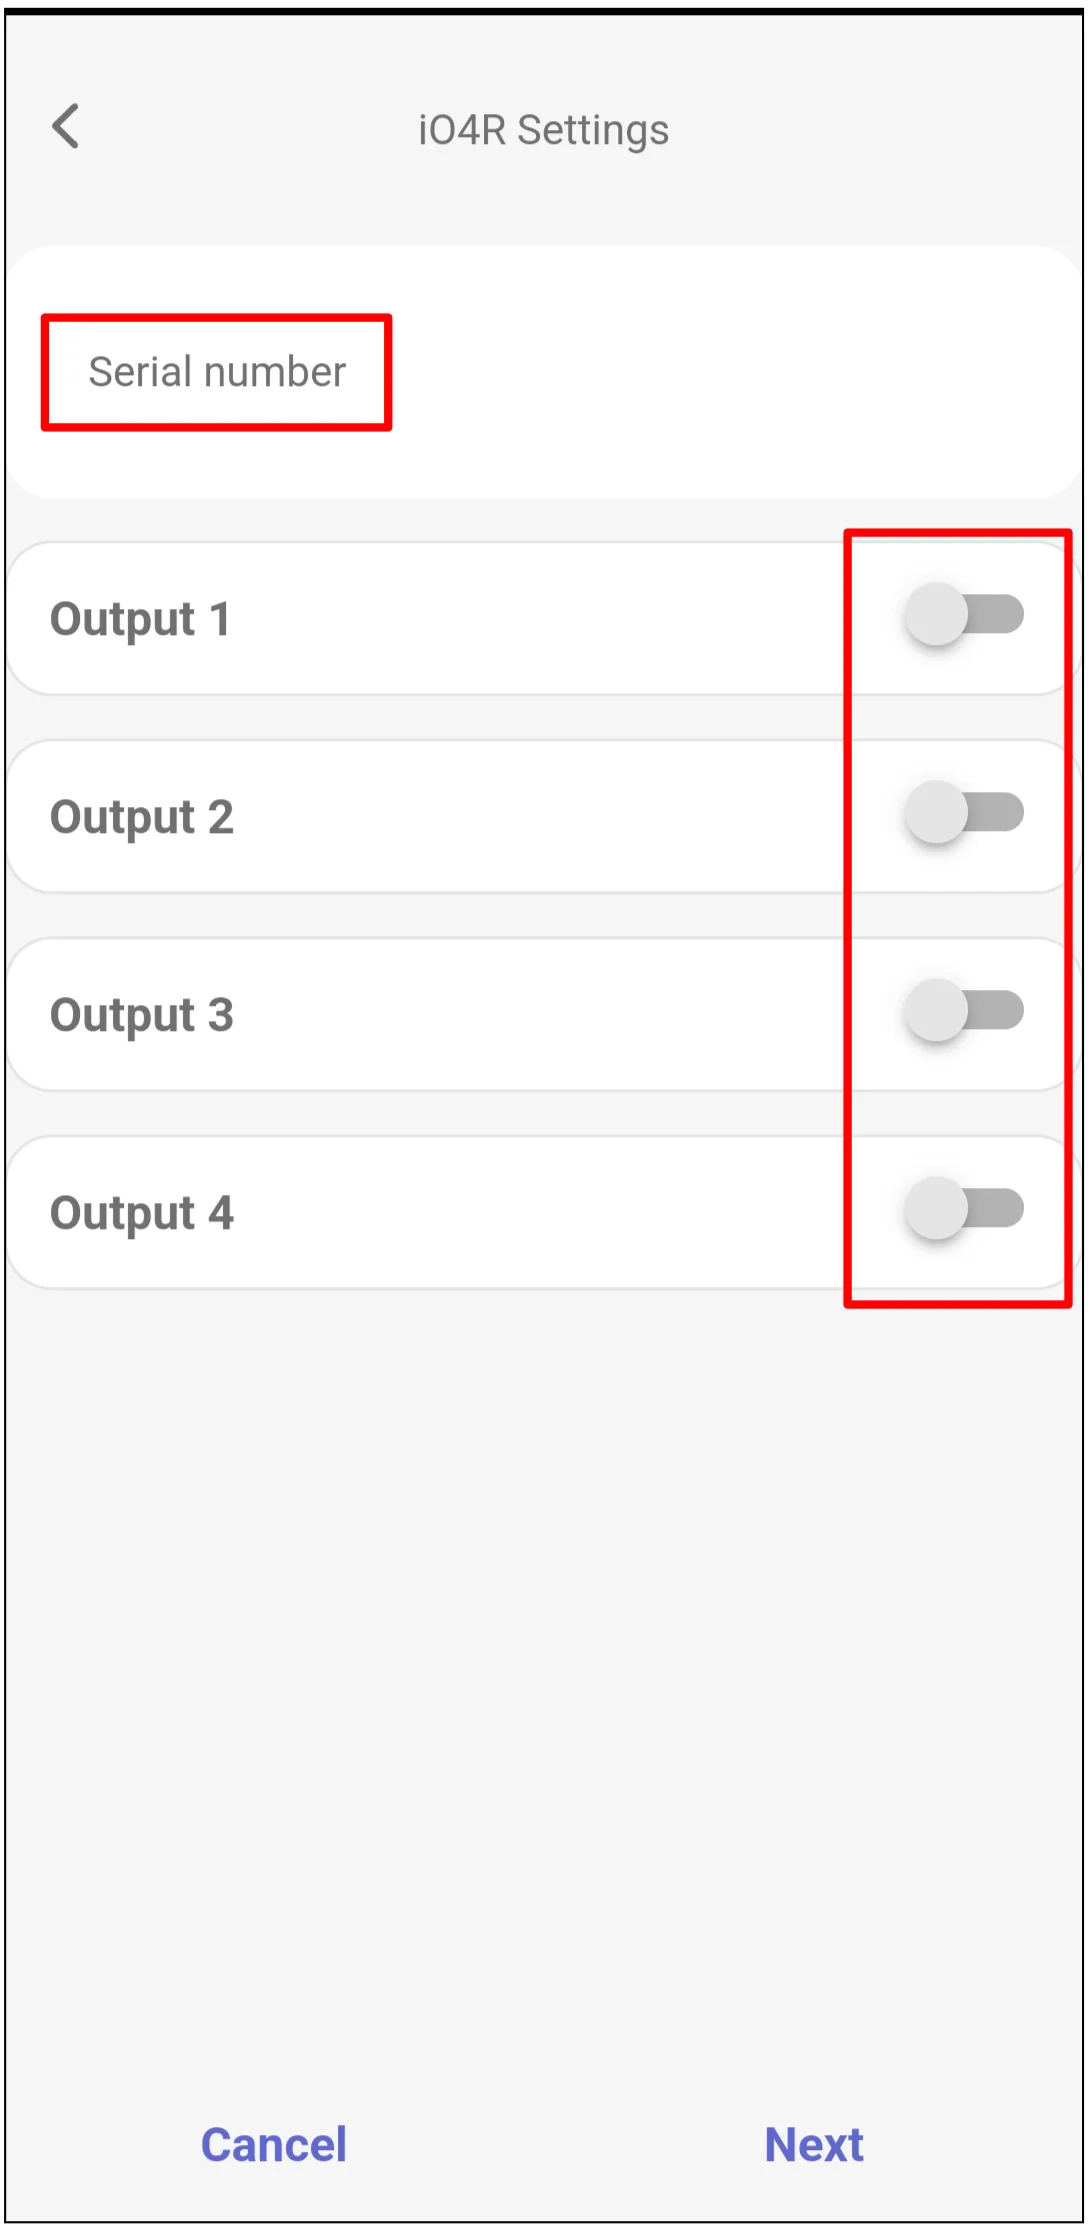
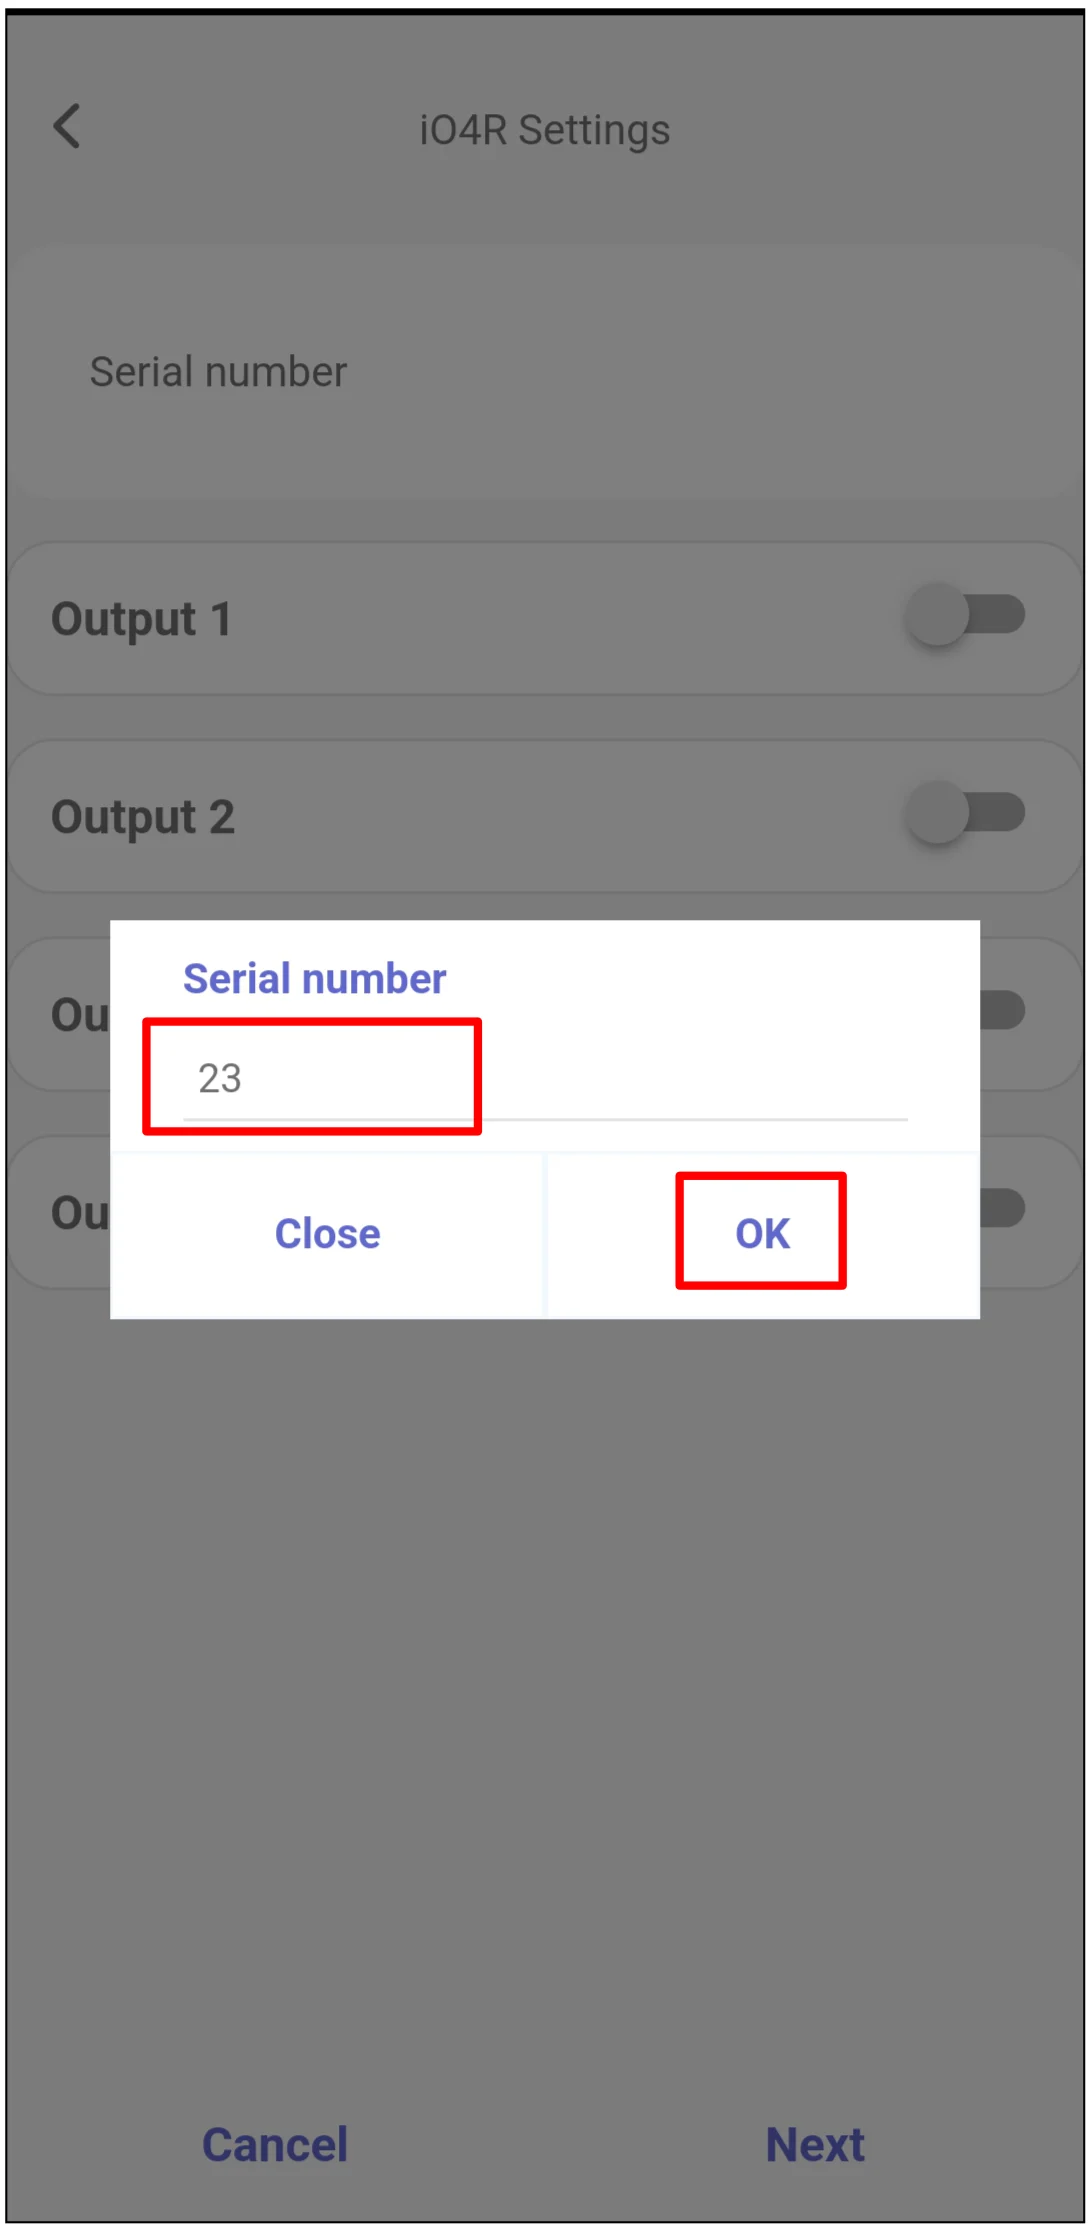
- iO4R expander serial number.
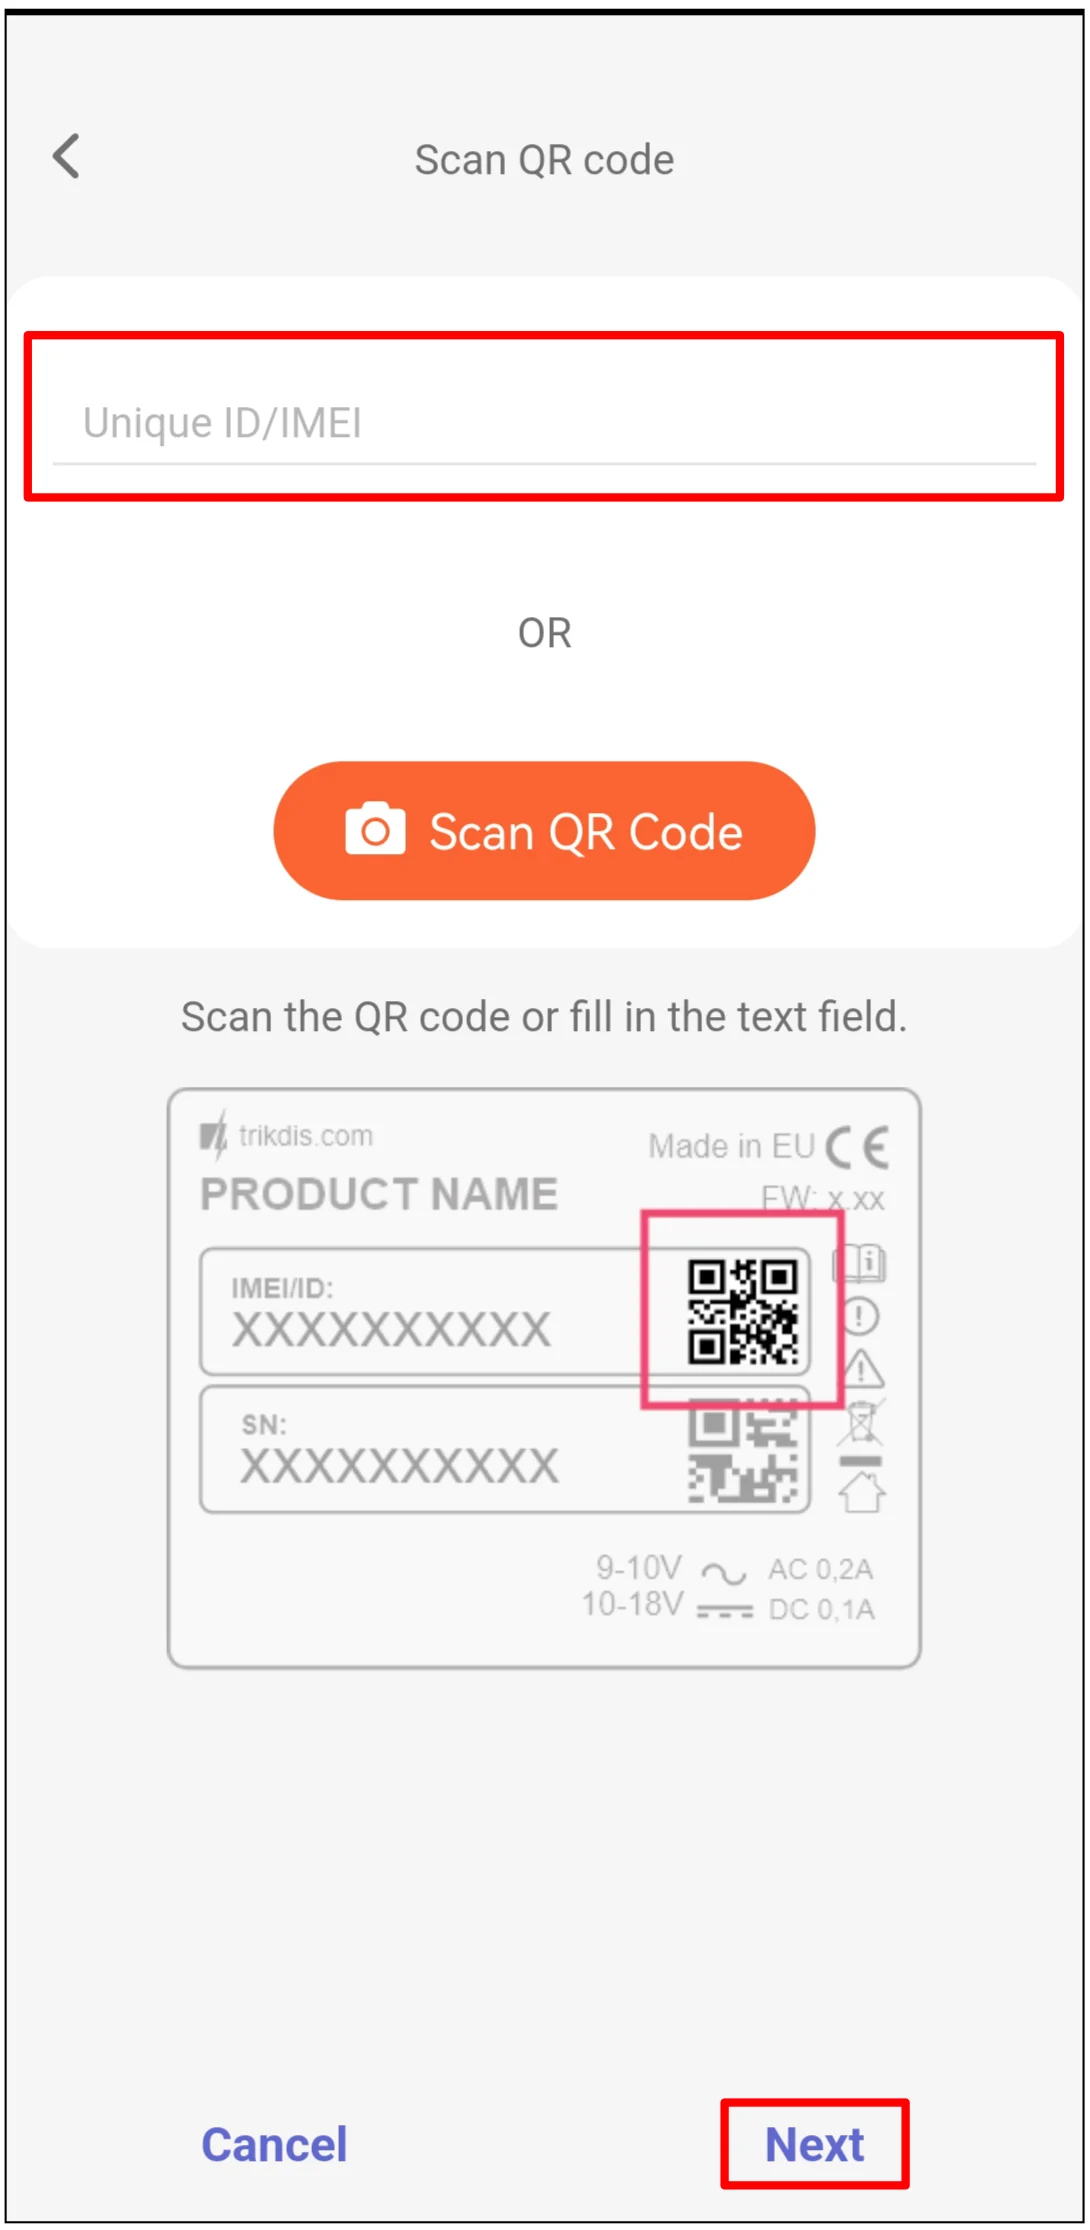
- Protegus2 company or installer account and the controller IMEI / Unique ID.
- Gate status sensor connected to the controller gate position input.
- Gate safety sensors connected through the iO4R expander, if they will be monitored or bypassed in Protegus2.
2. Wiring
Connect the iO4R expander to the controller RS485 bus and power terminals as shown below.
Note
The schematic shows GATOR LTE terminal labels. For GATOR WiFi, use the matching +DC, -DC, A RS485, and B RS485 terminals from the GATOR WiFi manual.
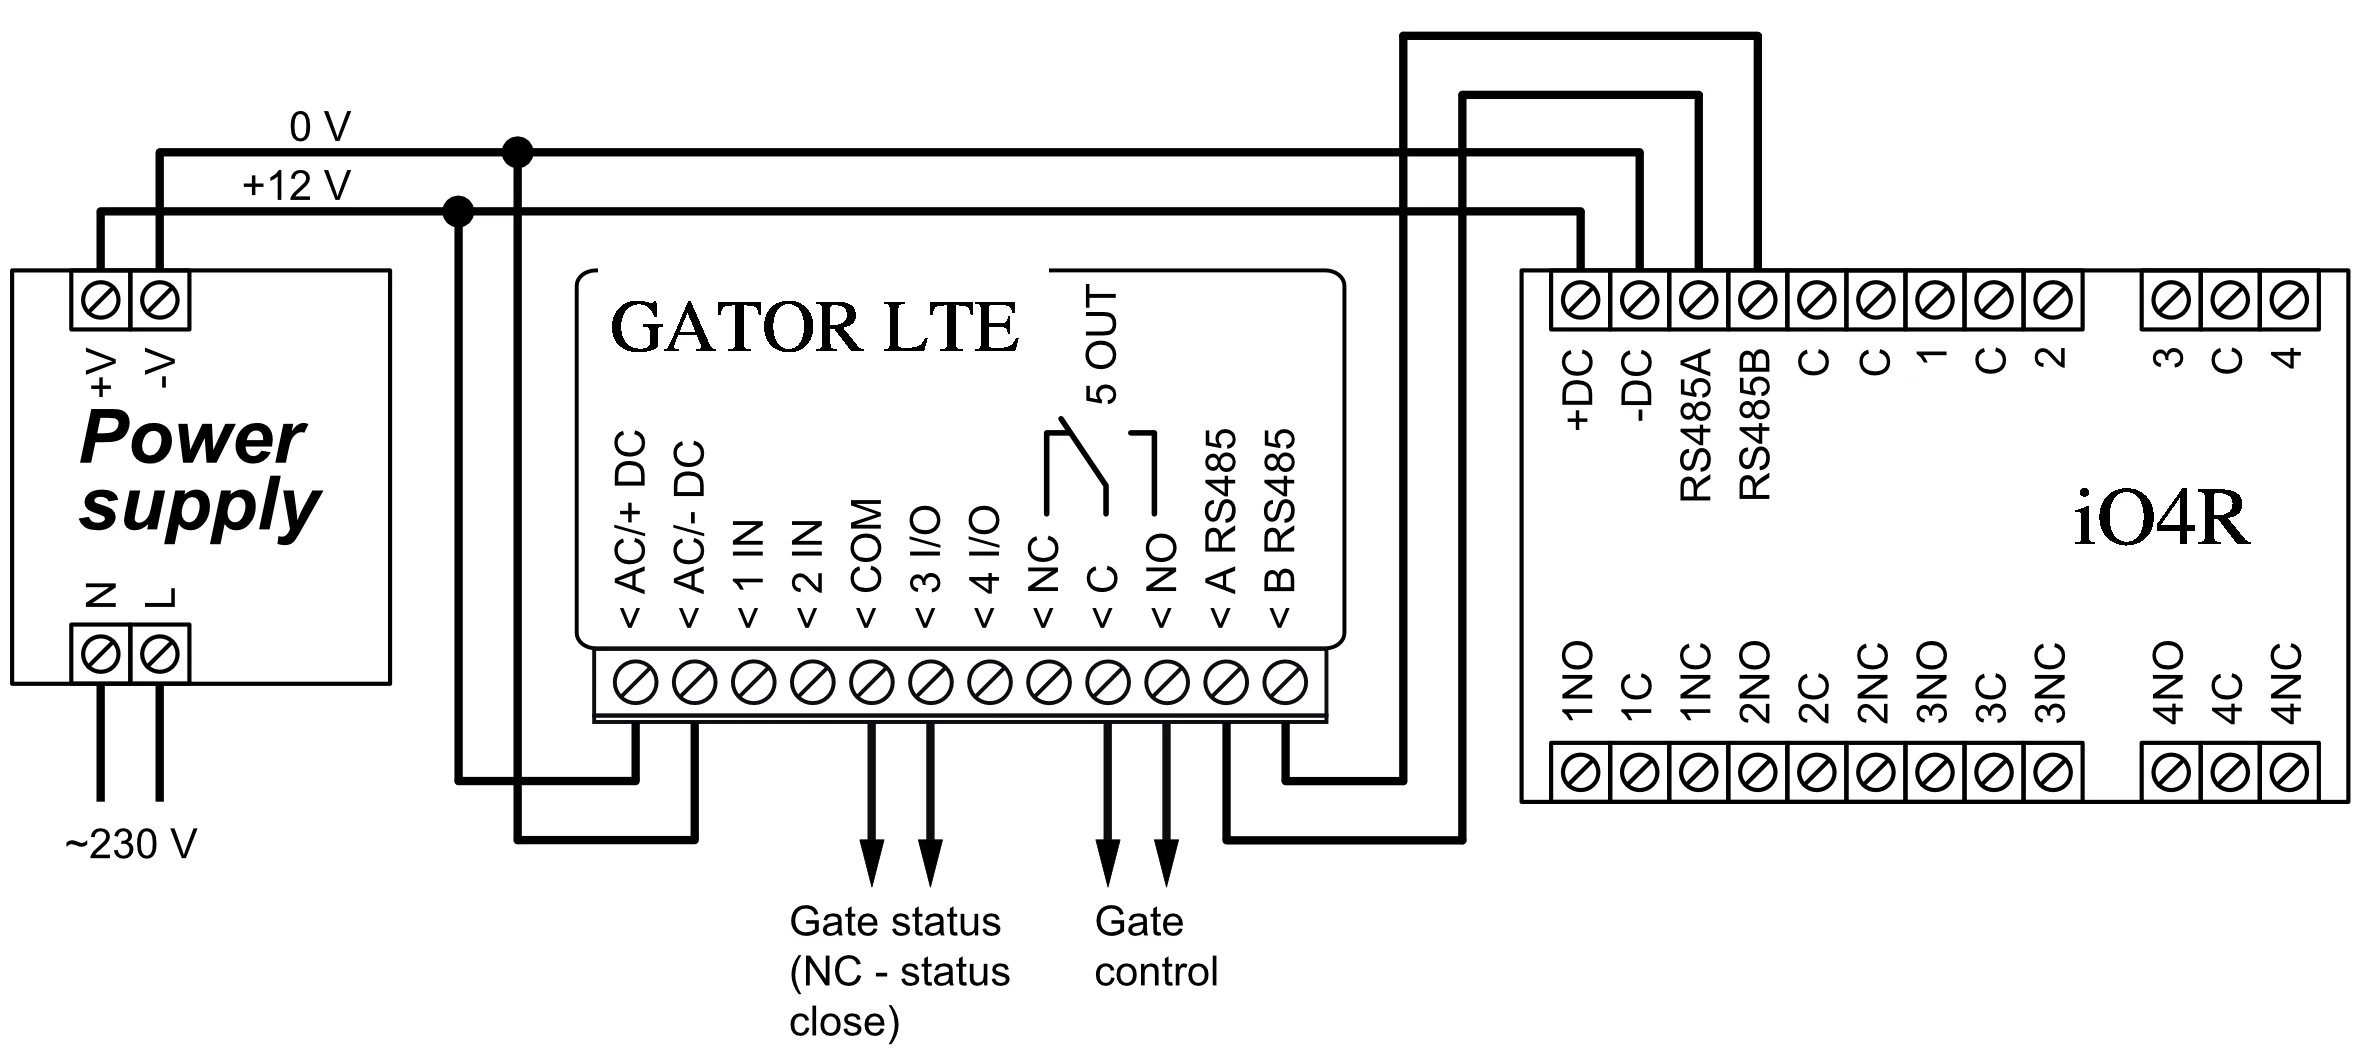
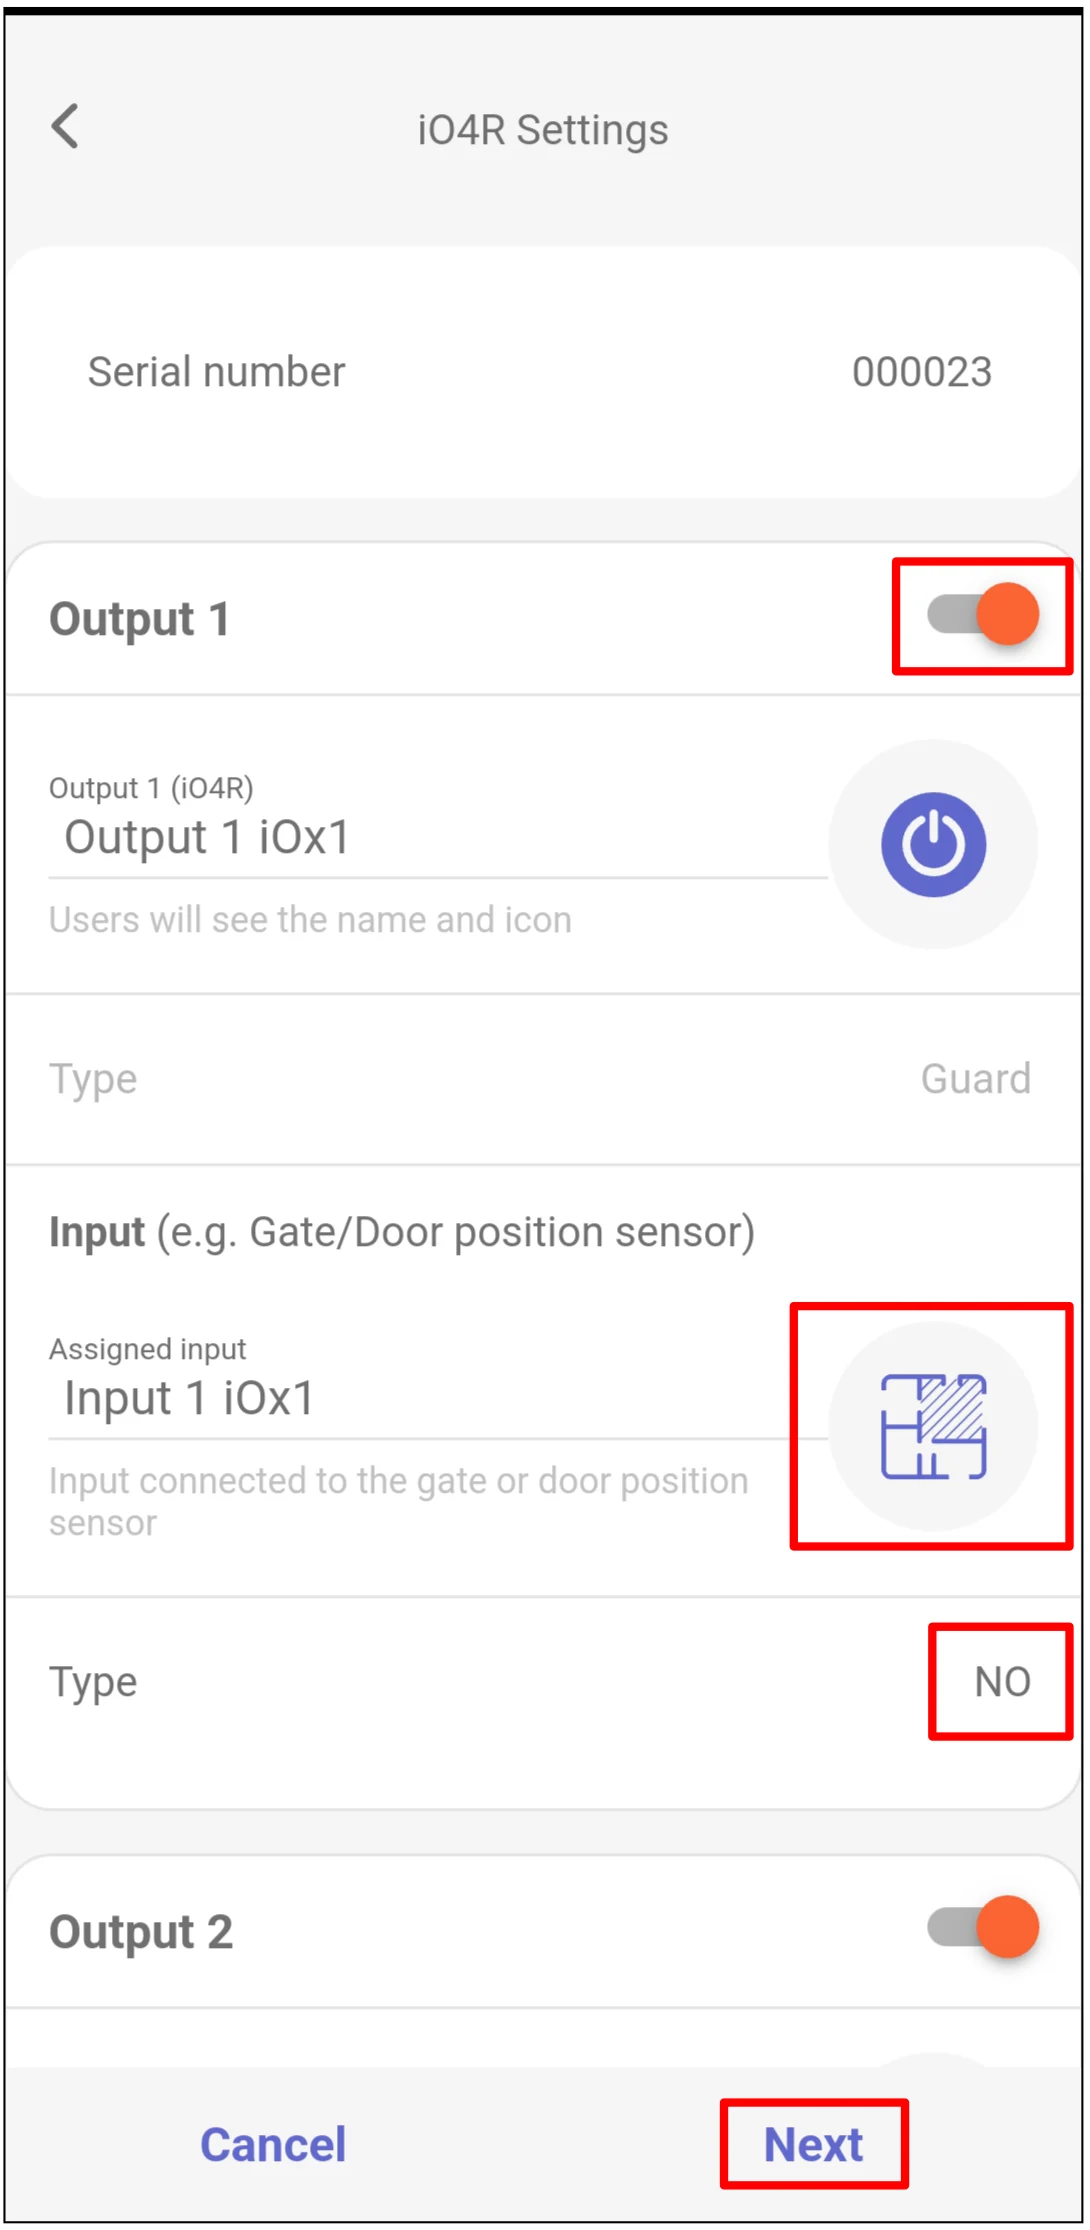
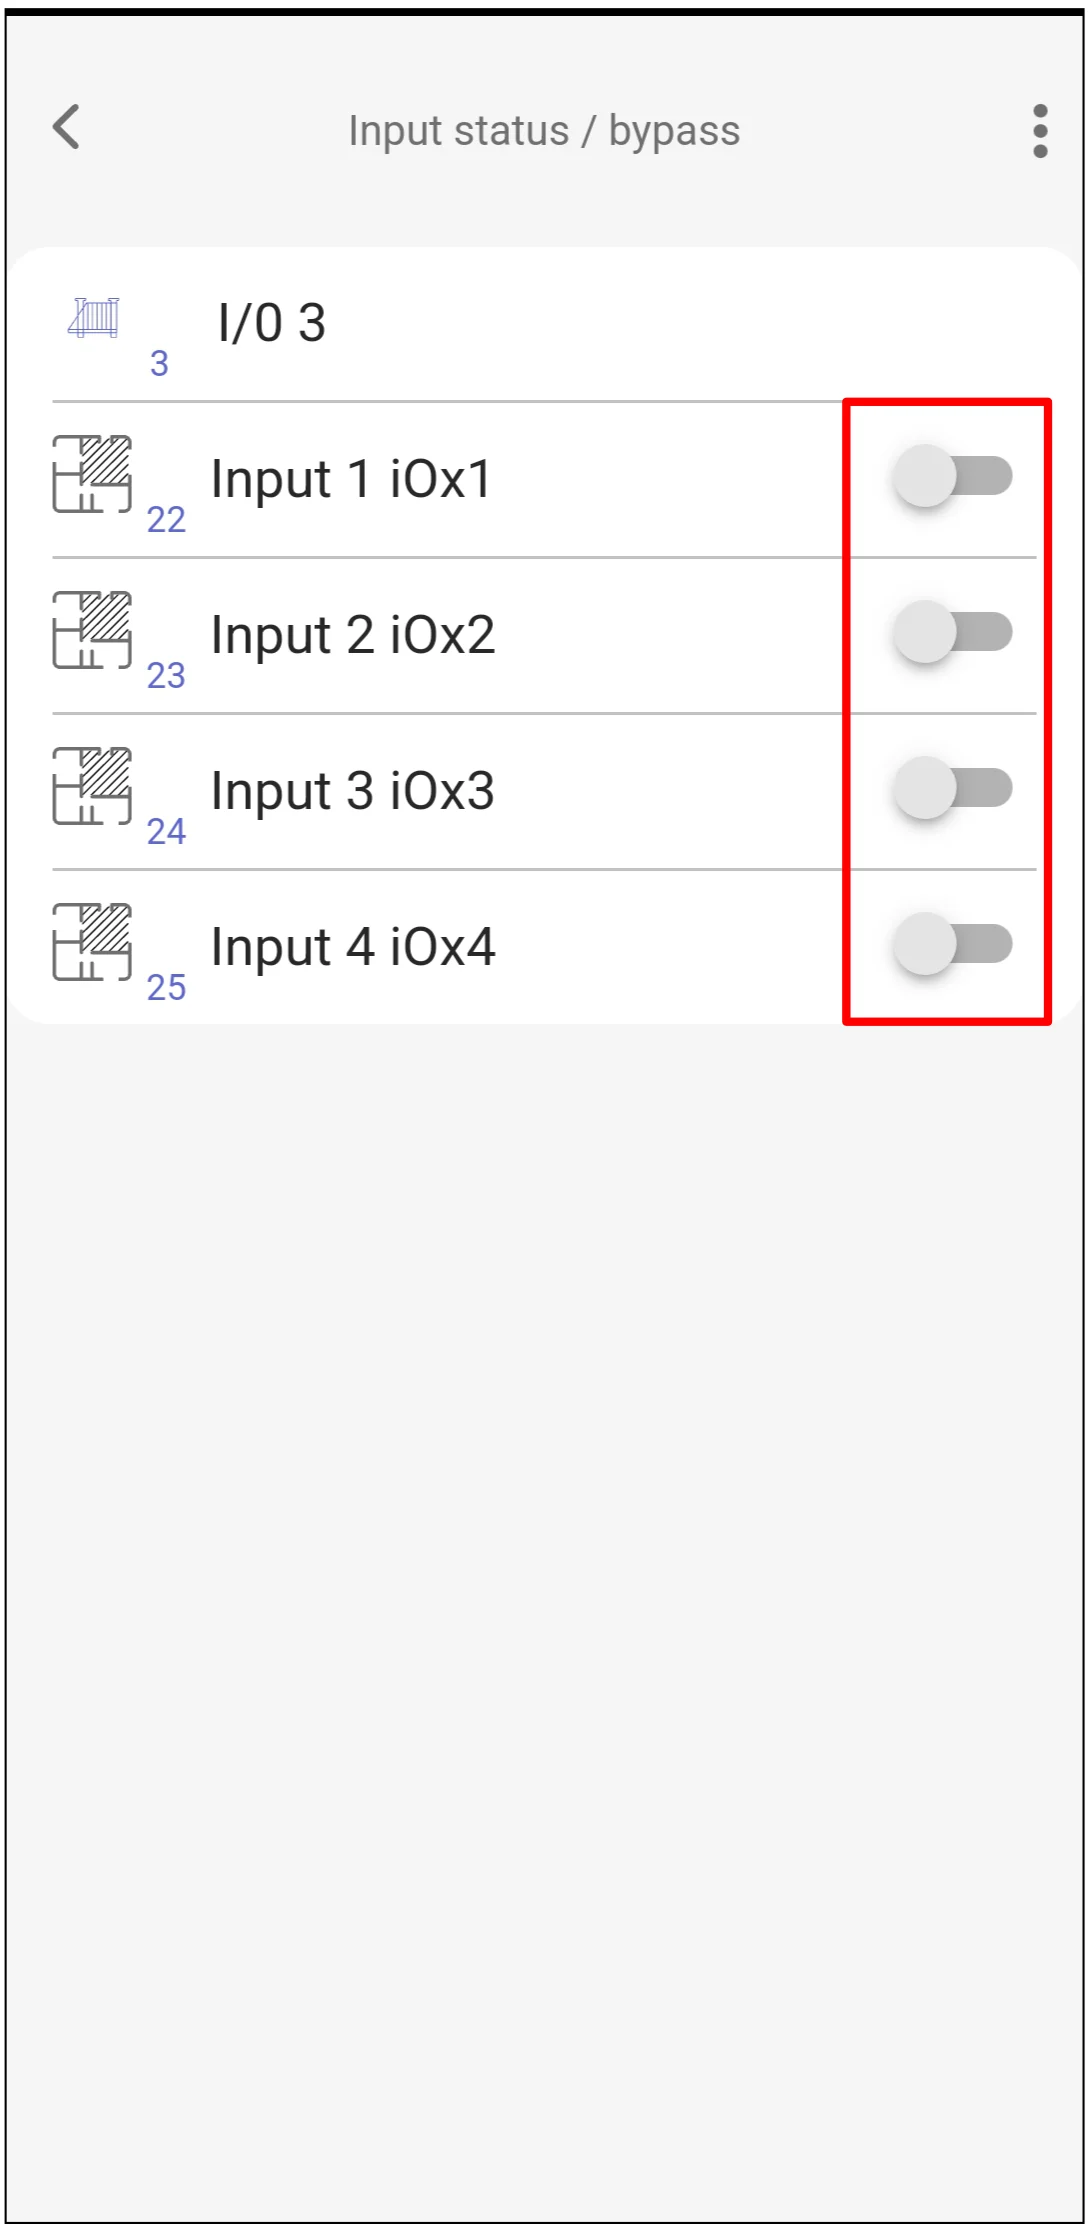
The iO4R module is applied to bypass faulty gate automation safety sensors. When bypassing defective sensors and activating the gate mechanism, always ensure that no obstructions are present within the gate’s operating range. Gate safety sensors are interfaced with the gate automation controller through the iO4R module. The module provides four independent input/output channels. Each input channel is associated with its corresponding relay output contacts as follows:
- Input 1 → Output 1 (1 NO / 1 C / 1 NC).
- Input 2 → Output 2 (2 NO / 2 C / 2 NC).
- Input 3 → Output 3 (3 NO / 3 C / 3 NC).
- Input 4 → Output 4 (4 NO / 4 C / 4 NC).
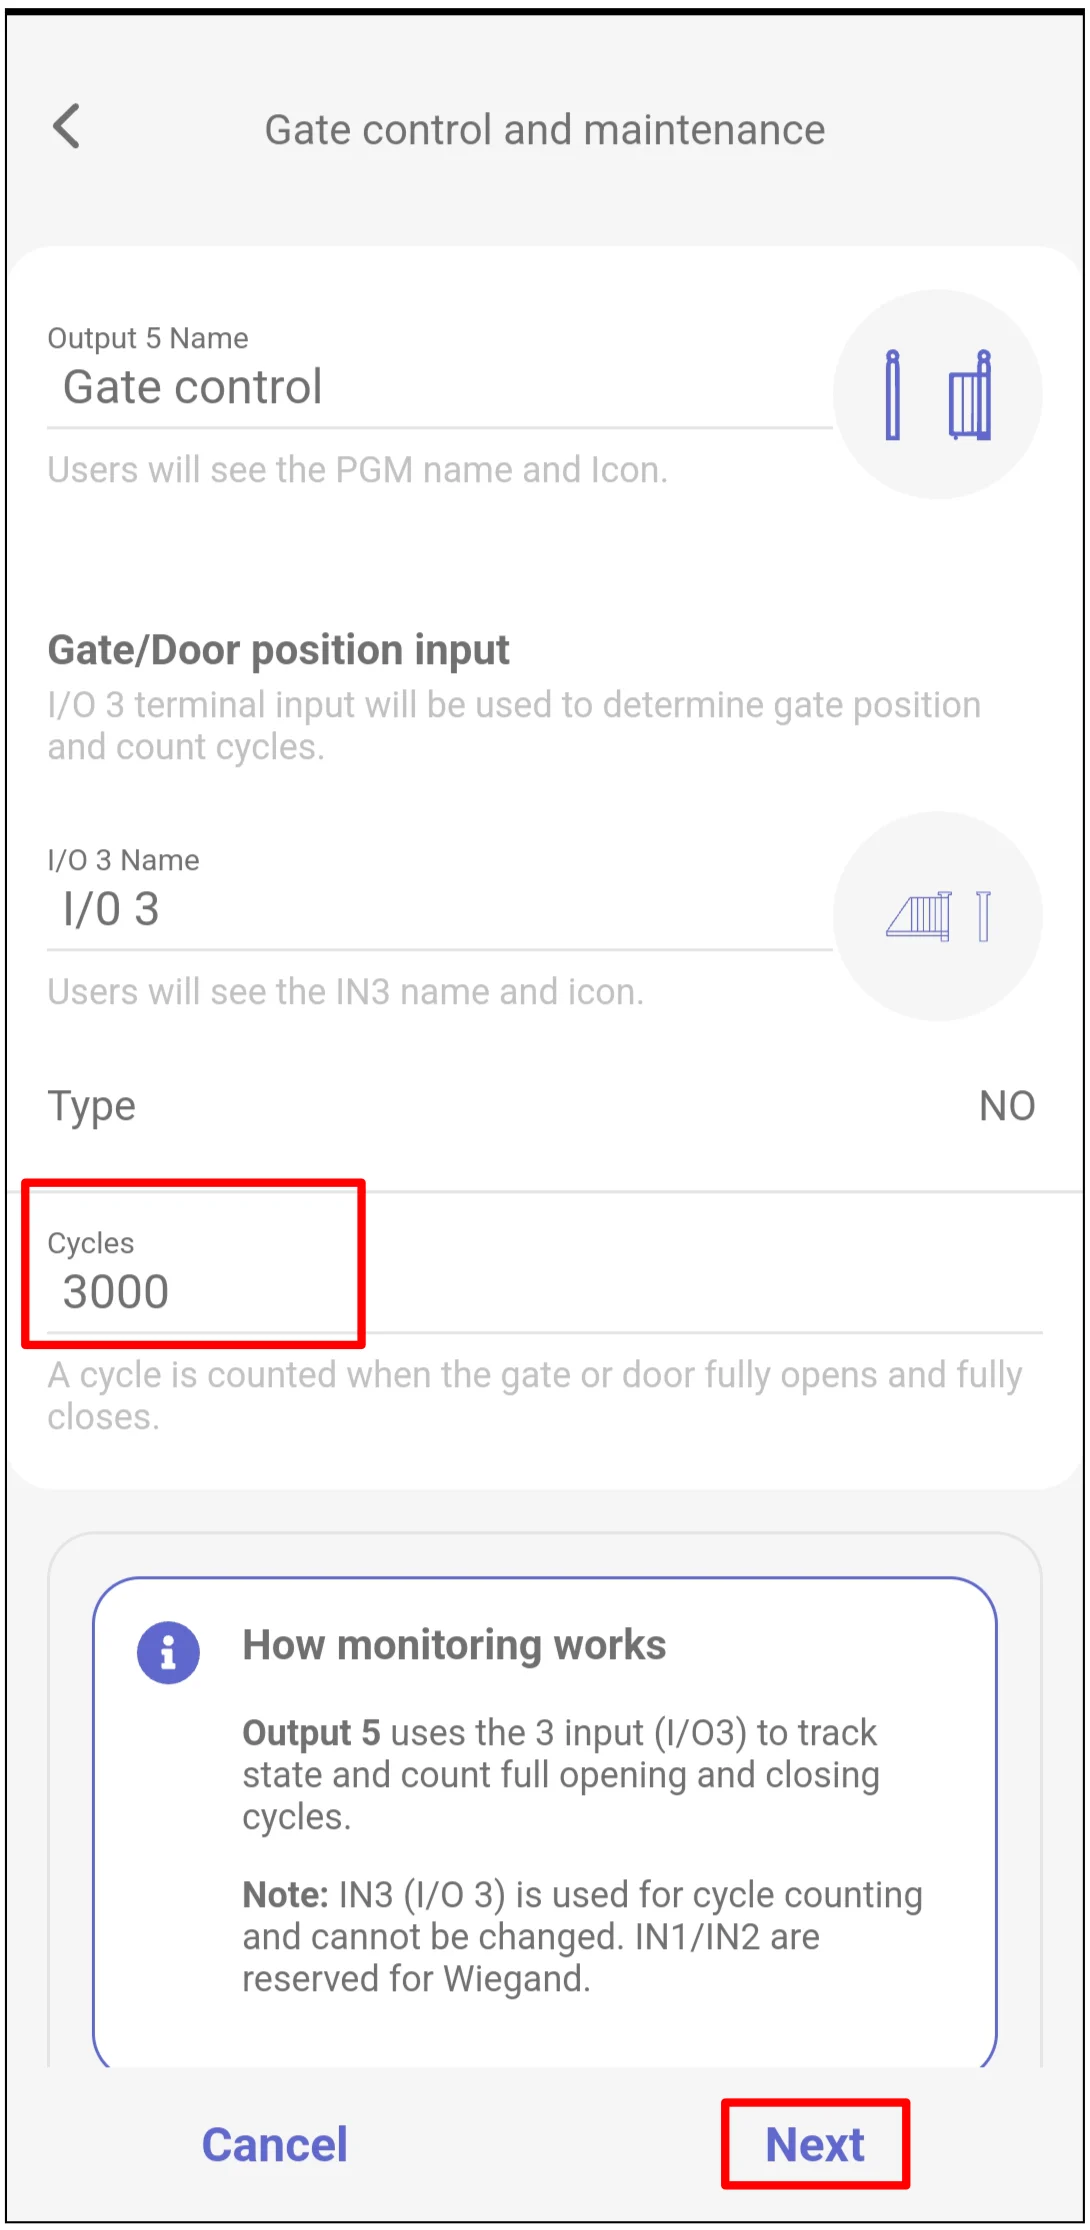
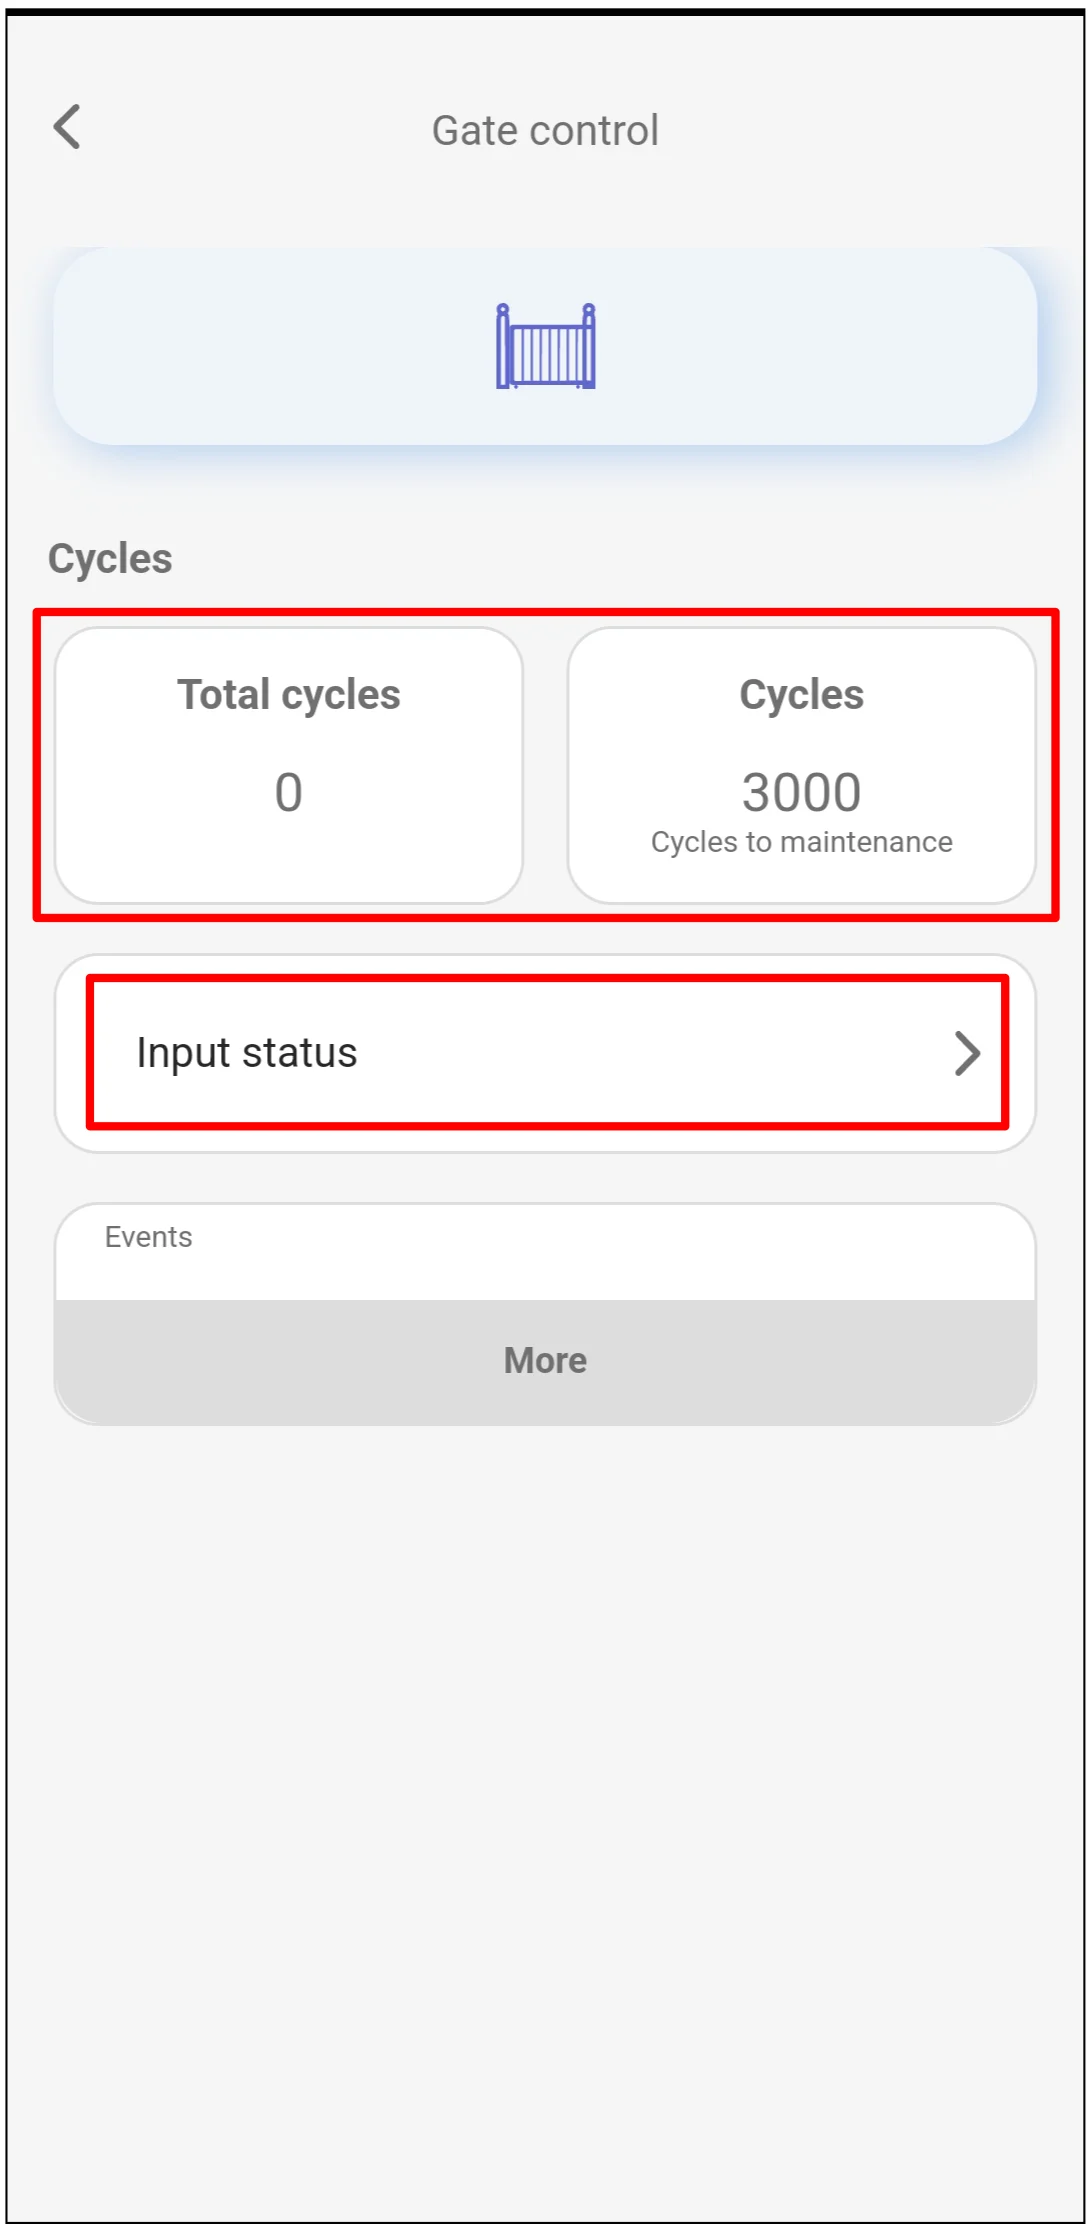
Use 3 I/O as the gate position input for cycle counting. A cycle is counted only after the gate fully opens and fully closes.
Important
In the Protegus2 monitoring setup, I/O 3 is reserved for gate position and cycle counting. Do not reassign it. Inputs IN1 and IN2 are reserved for Wiegand.
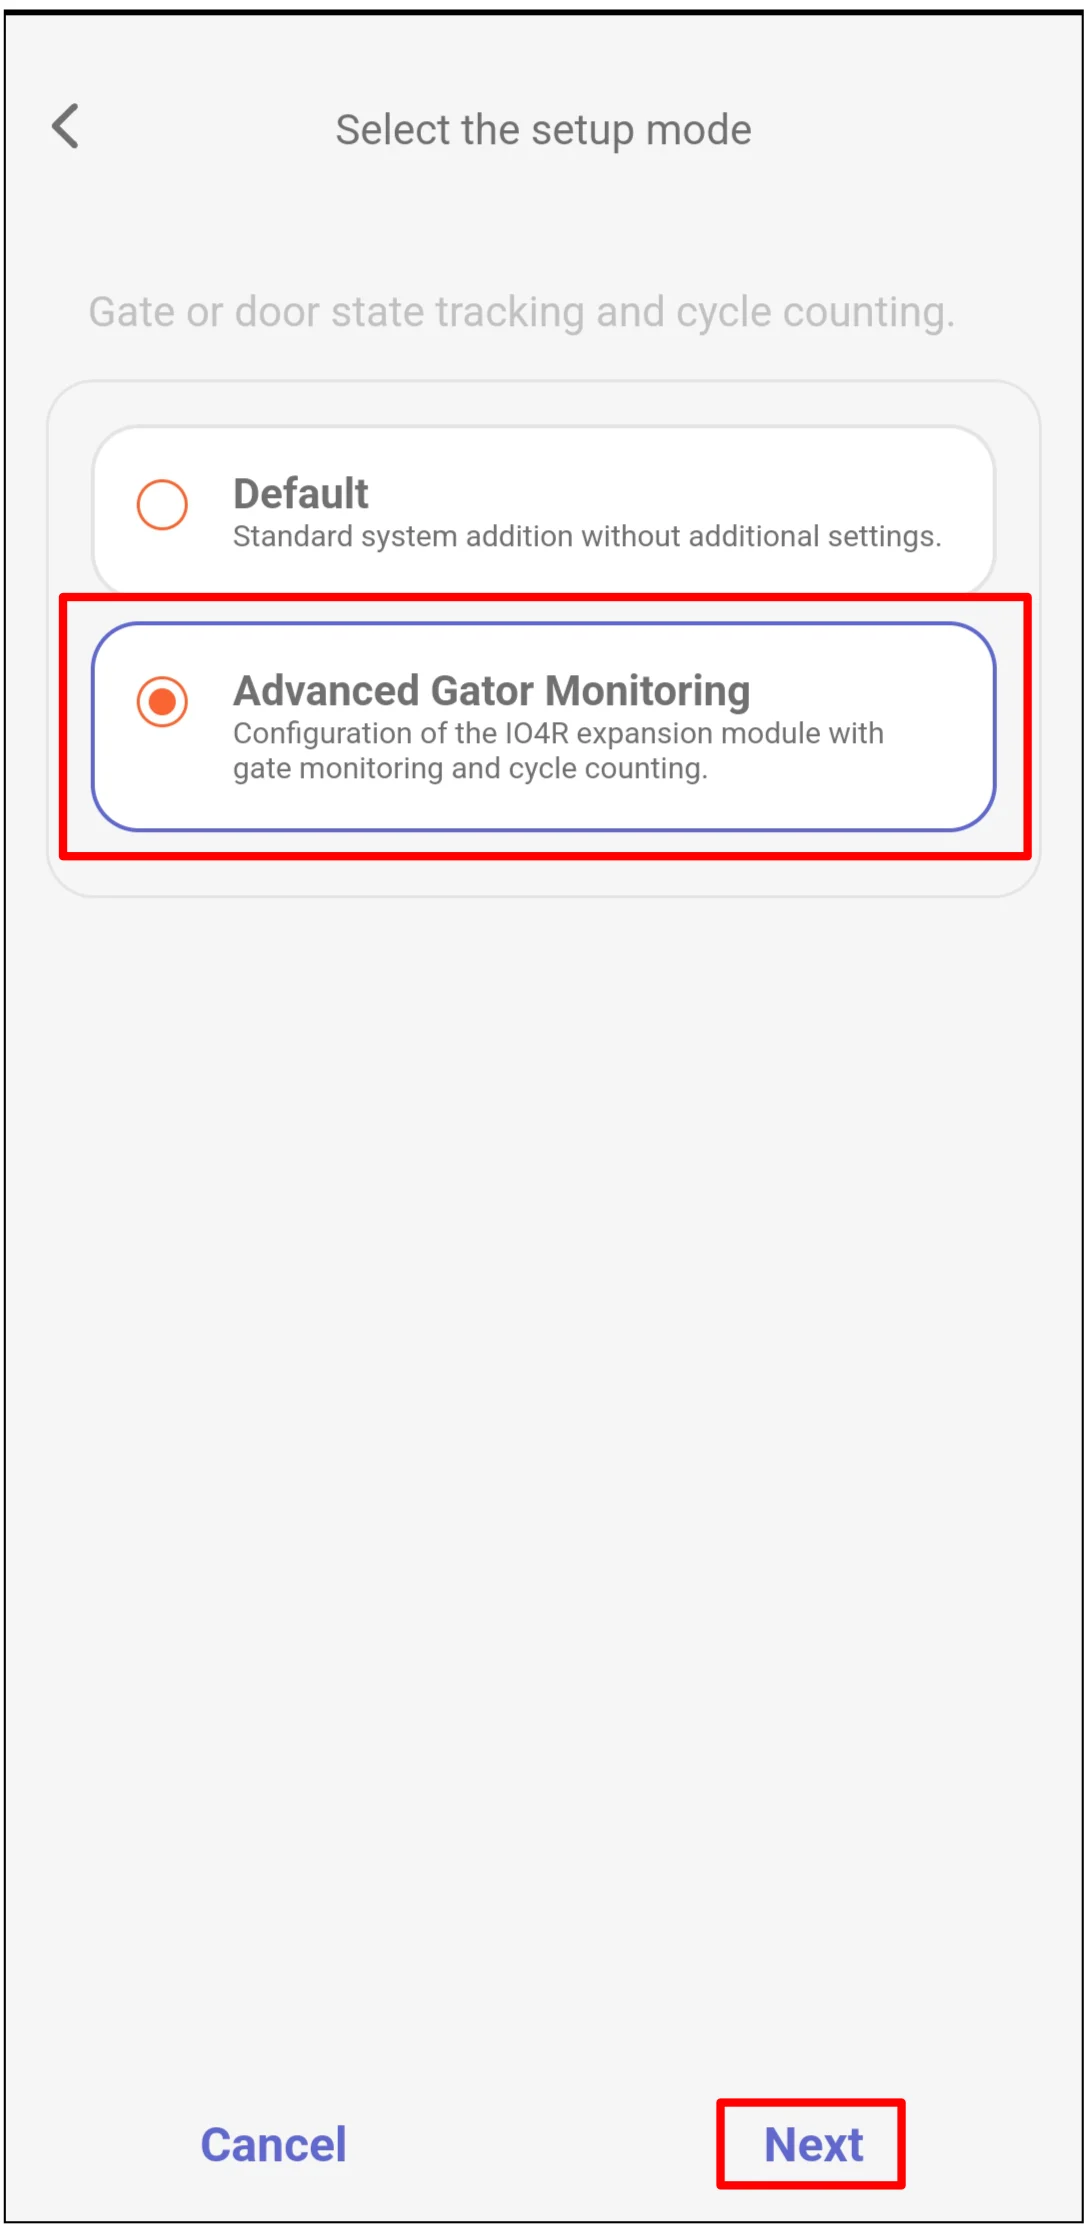
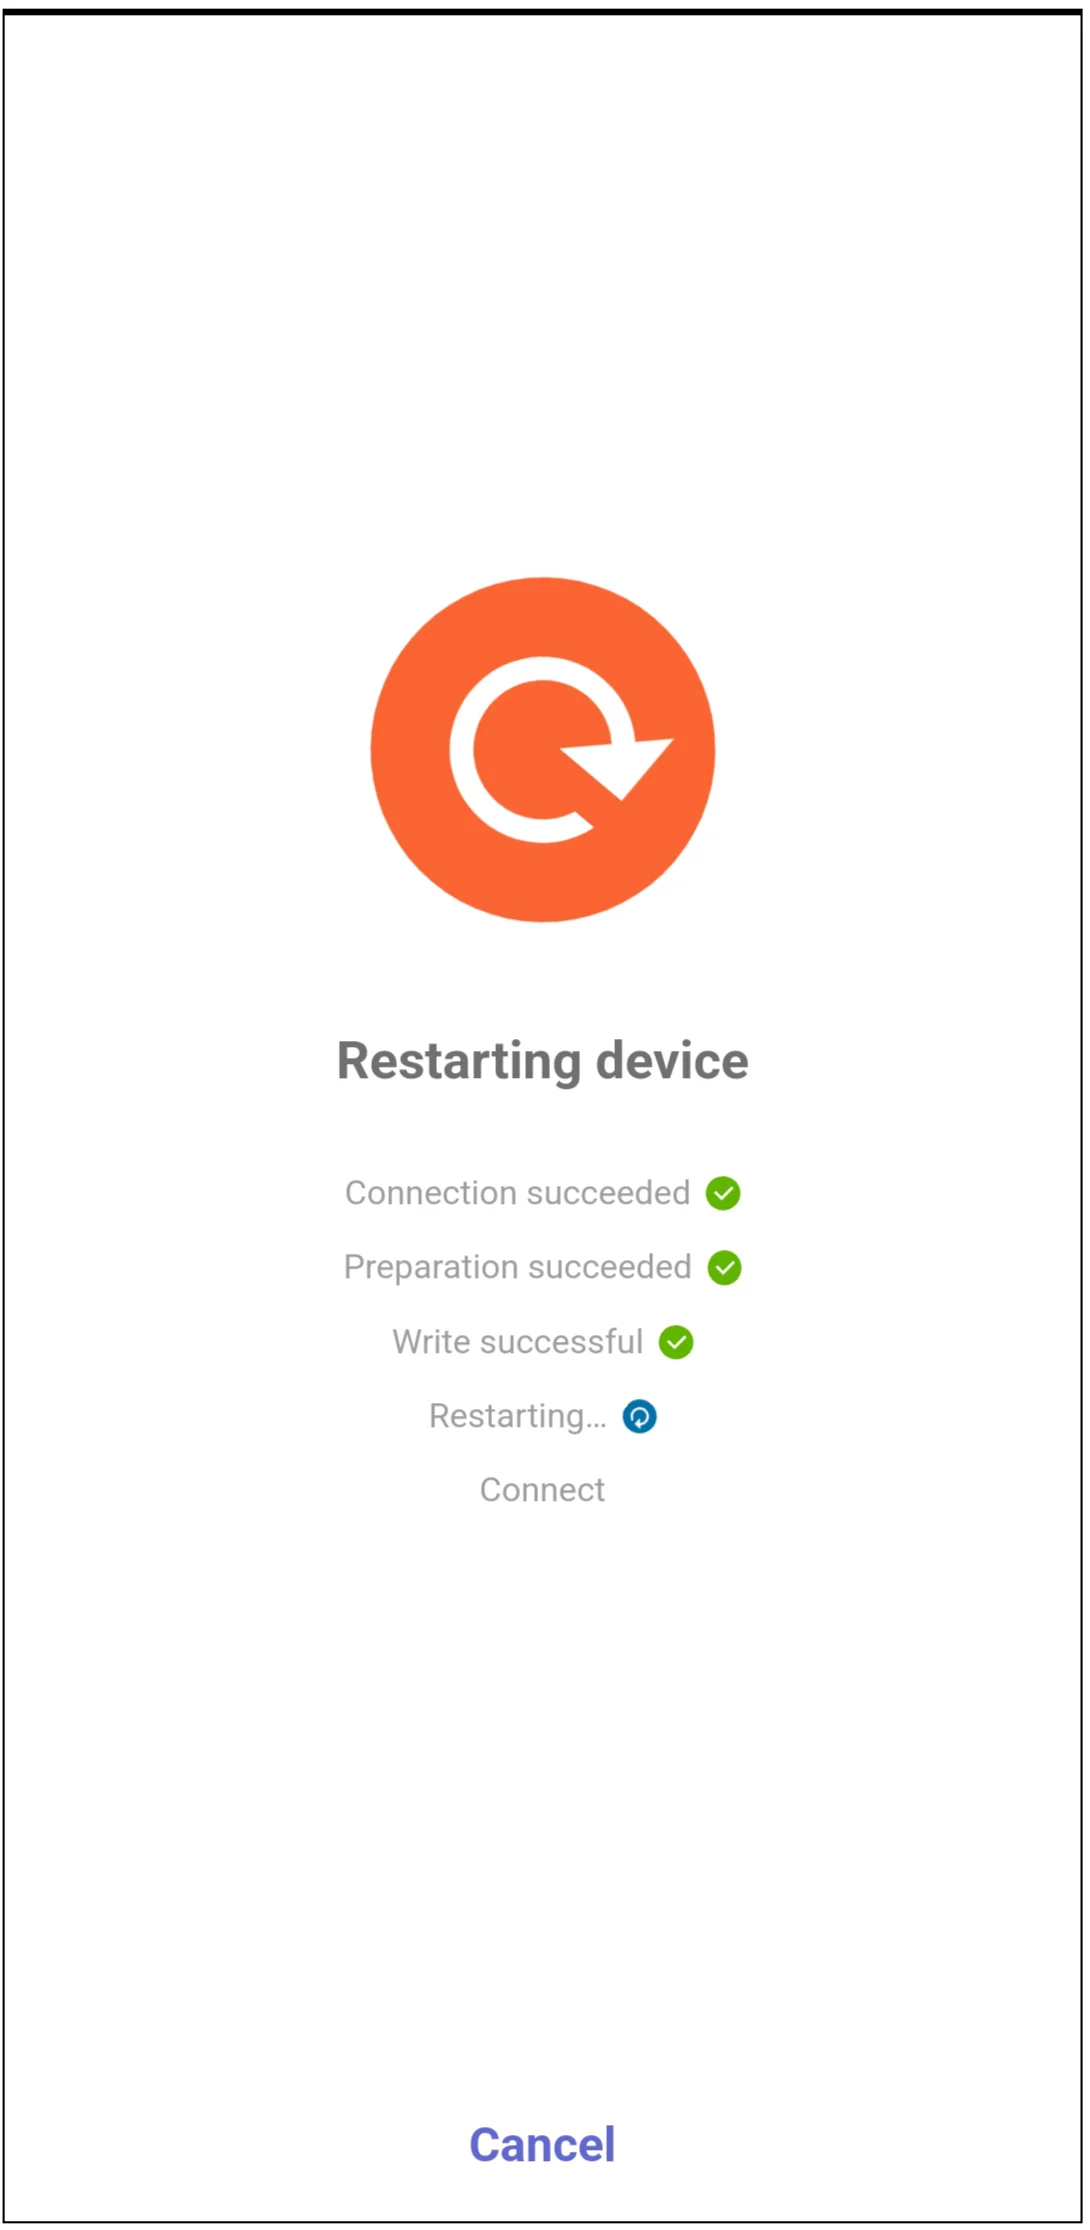
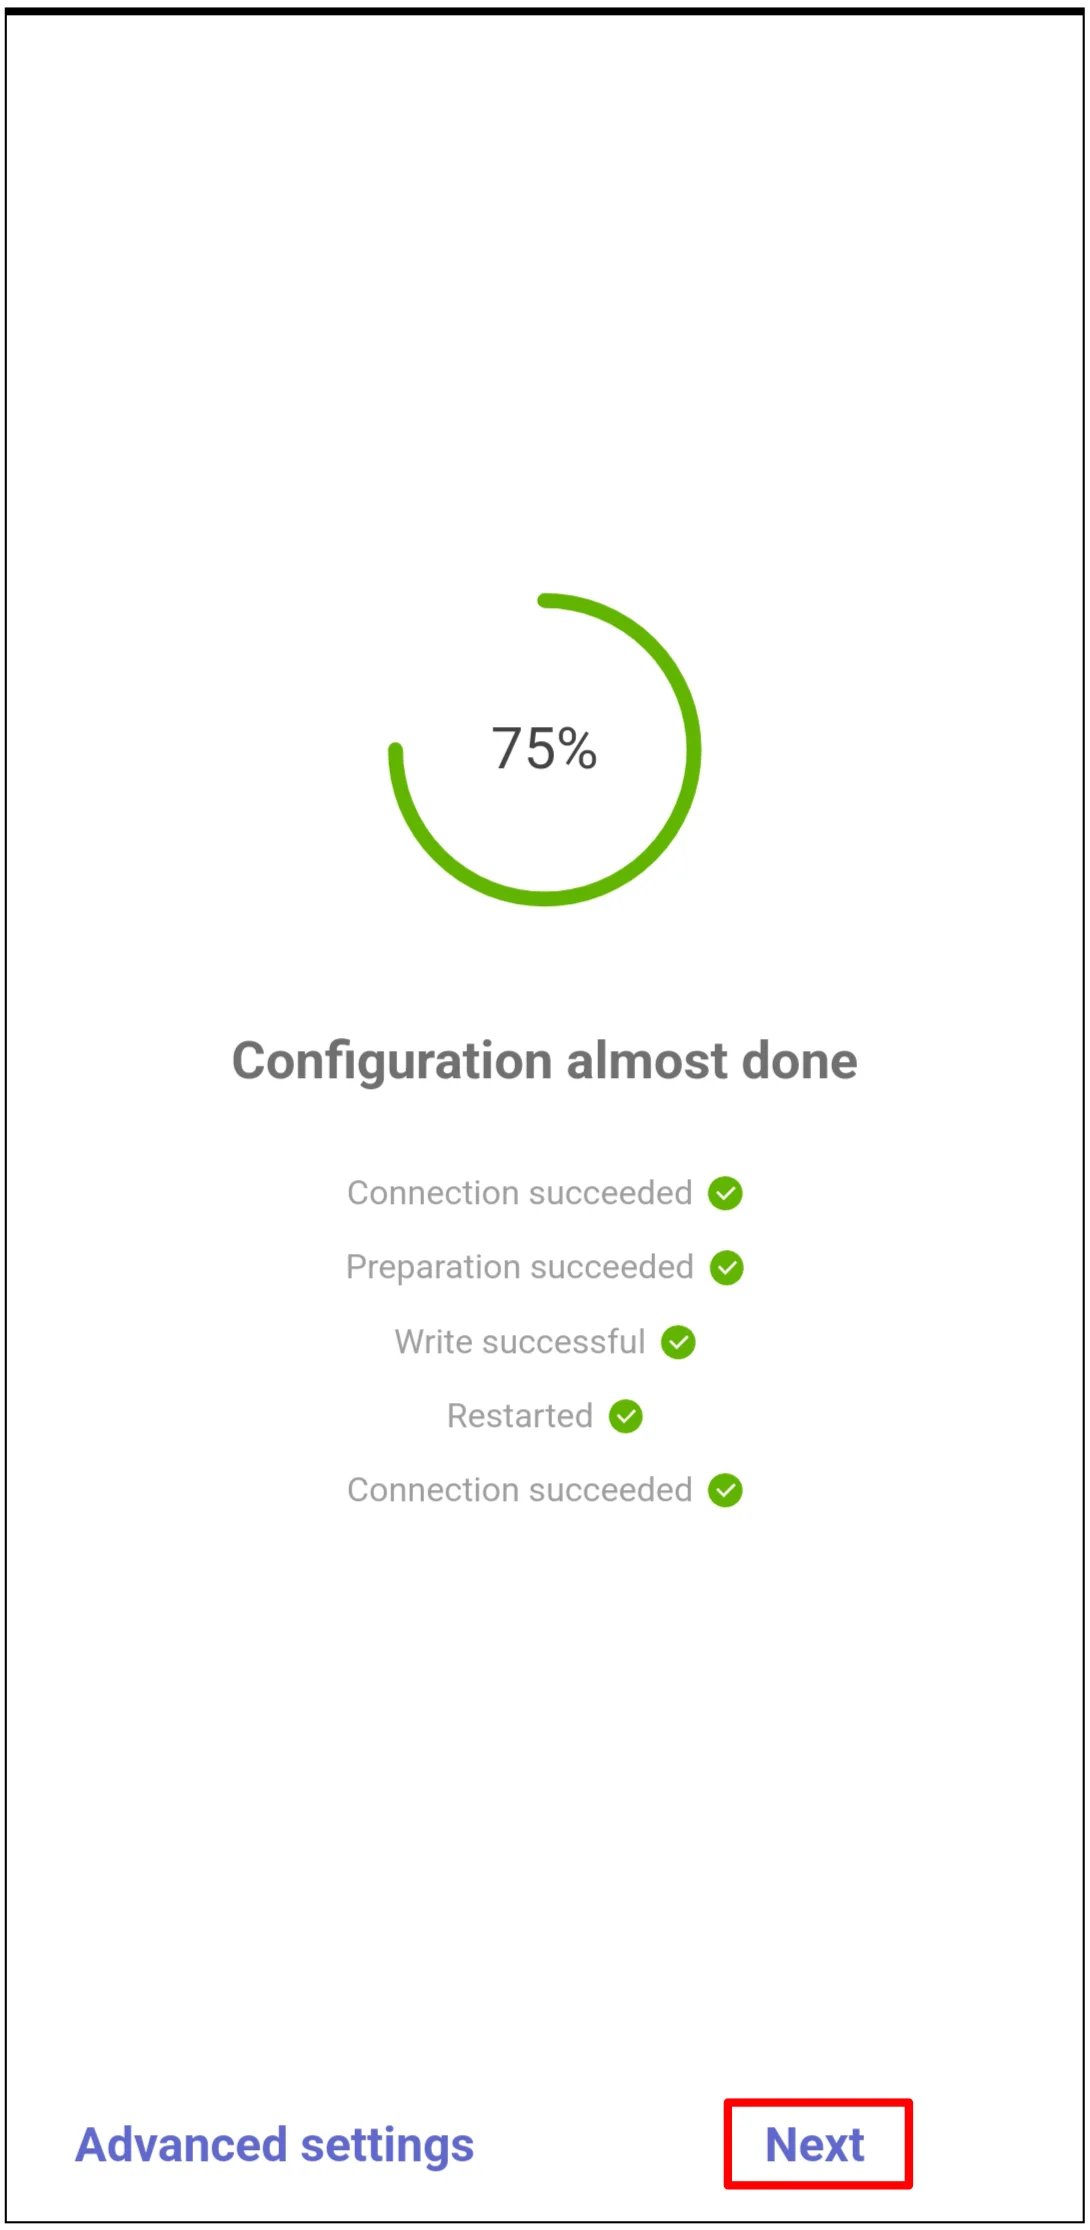
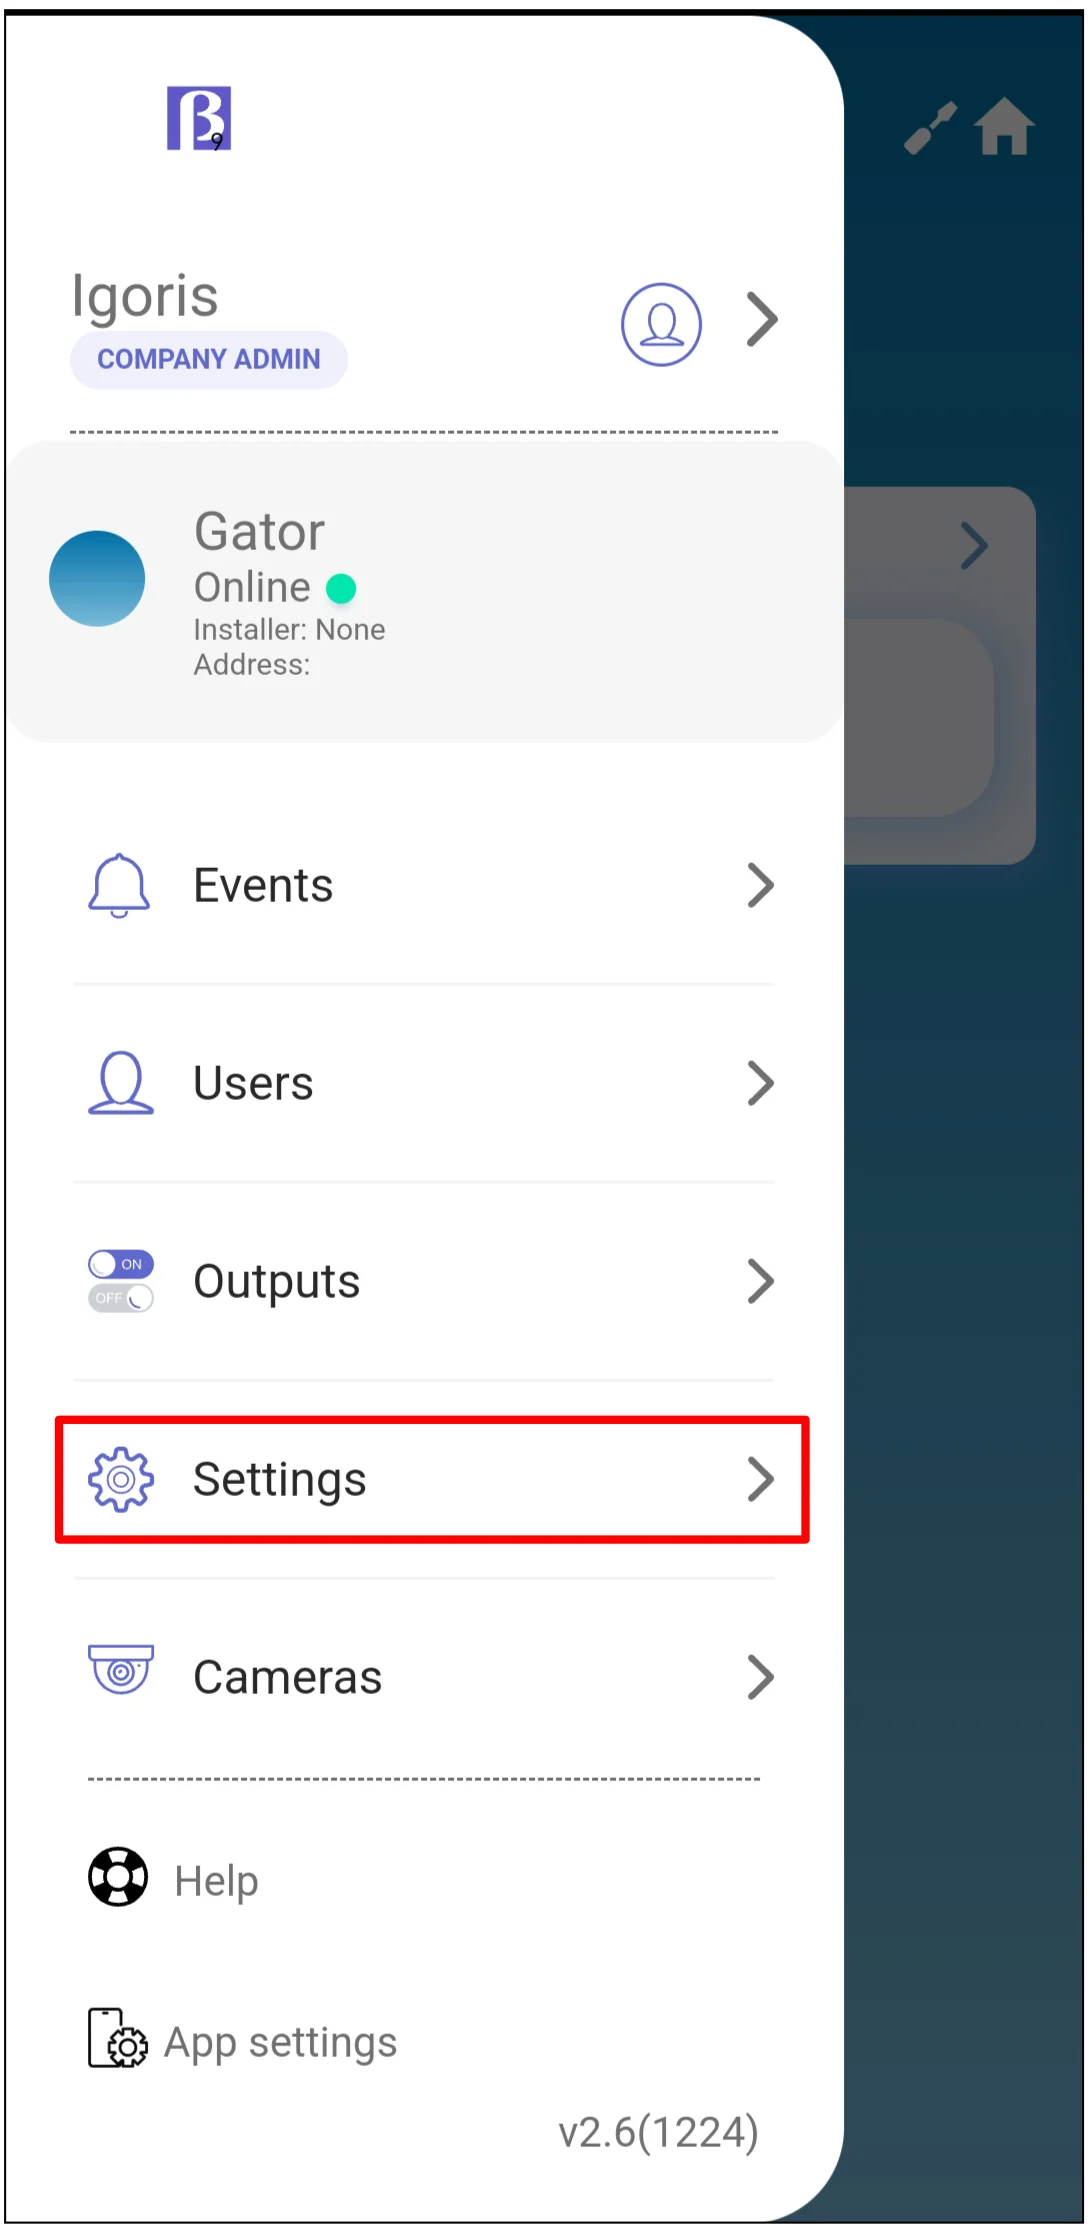
3. Add the controller and iO4R in Protegus2
Log in to Protegus2 with the company or installer account, then add the controller.


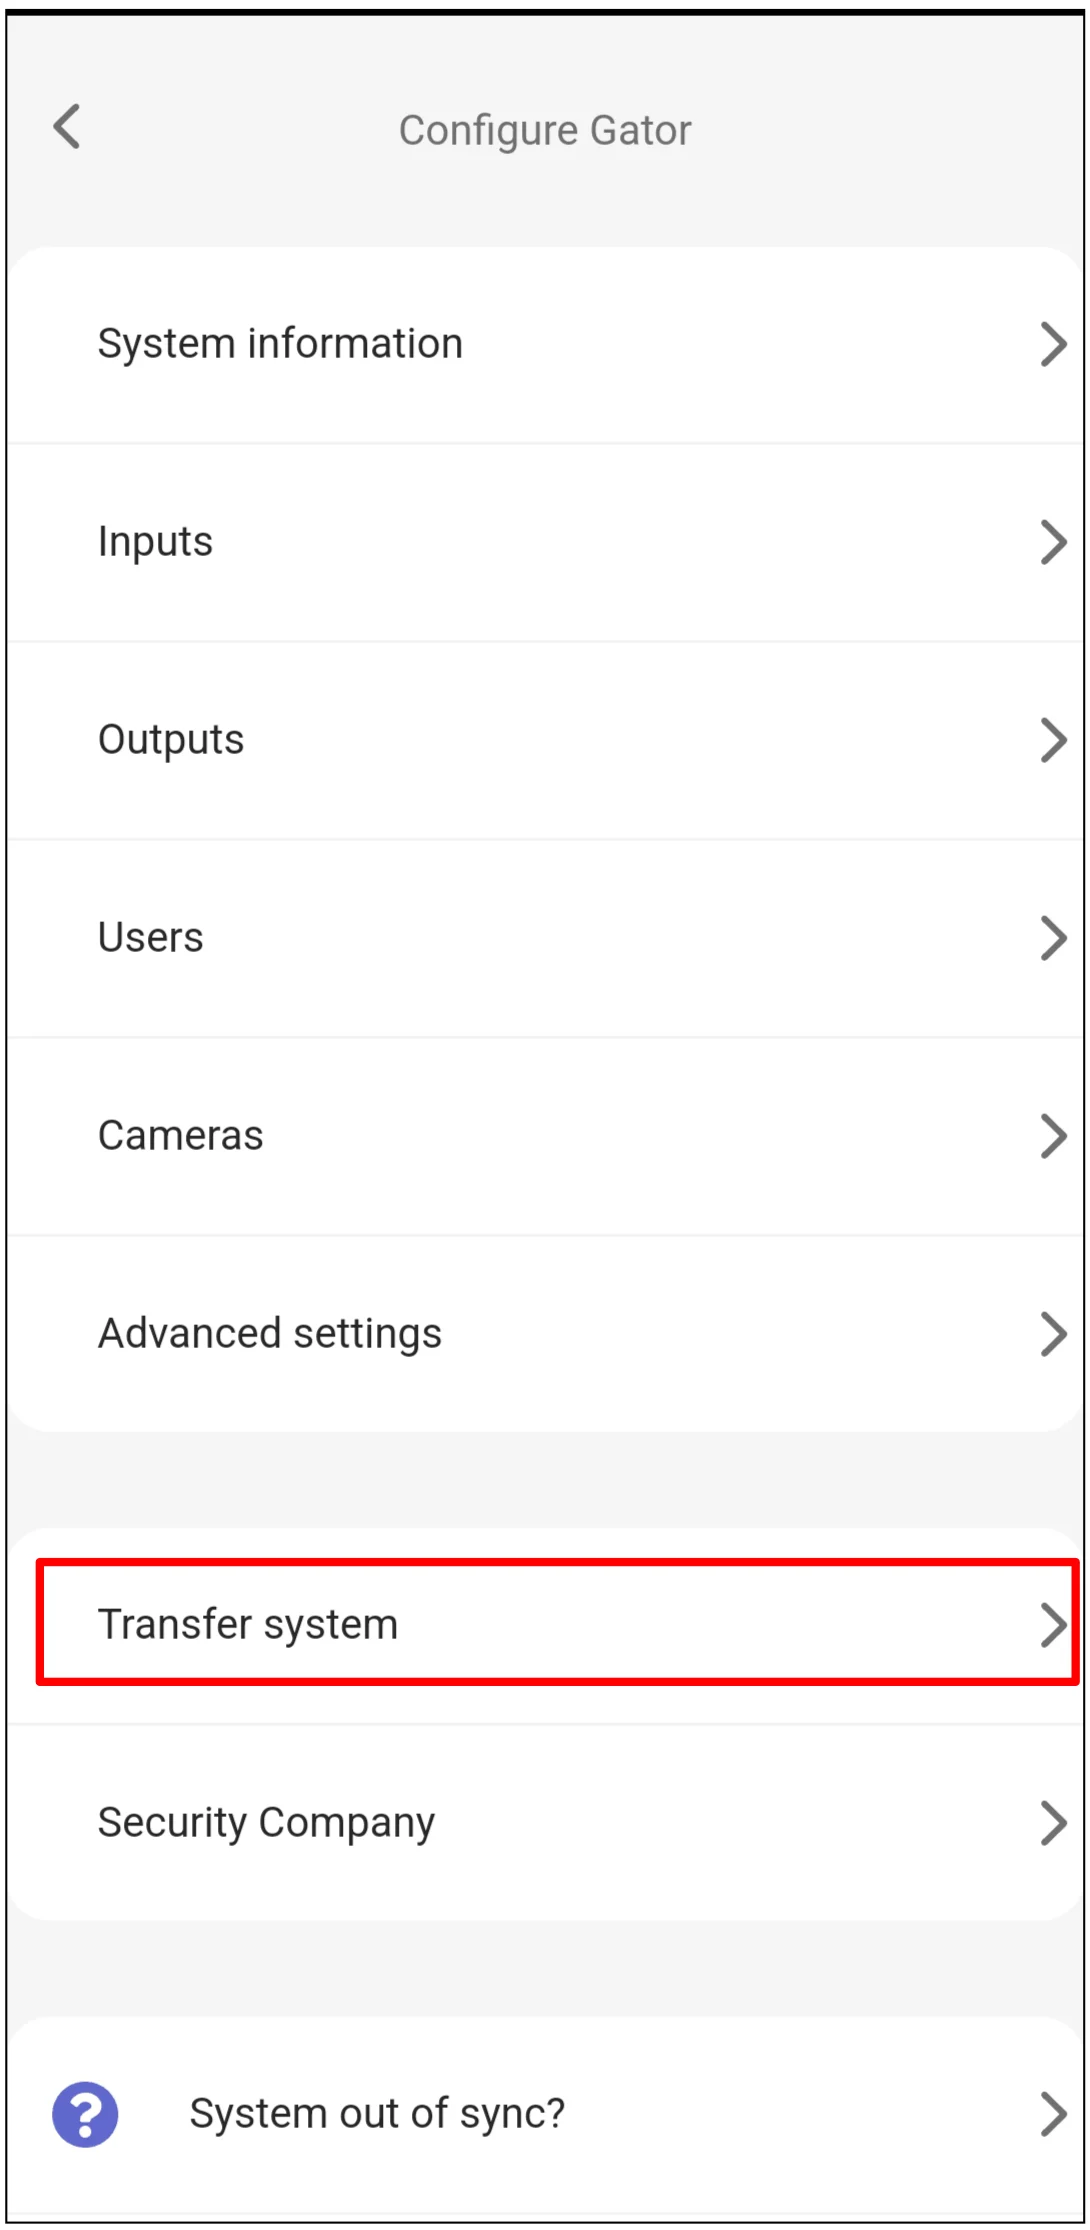
4. Transfer the system to the user
After setup is complete, transfer the system to the user's Protegus2 account.


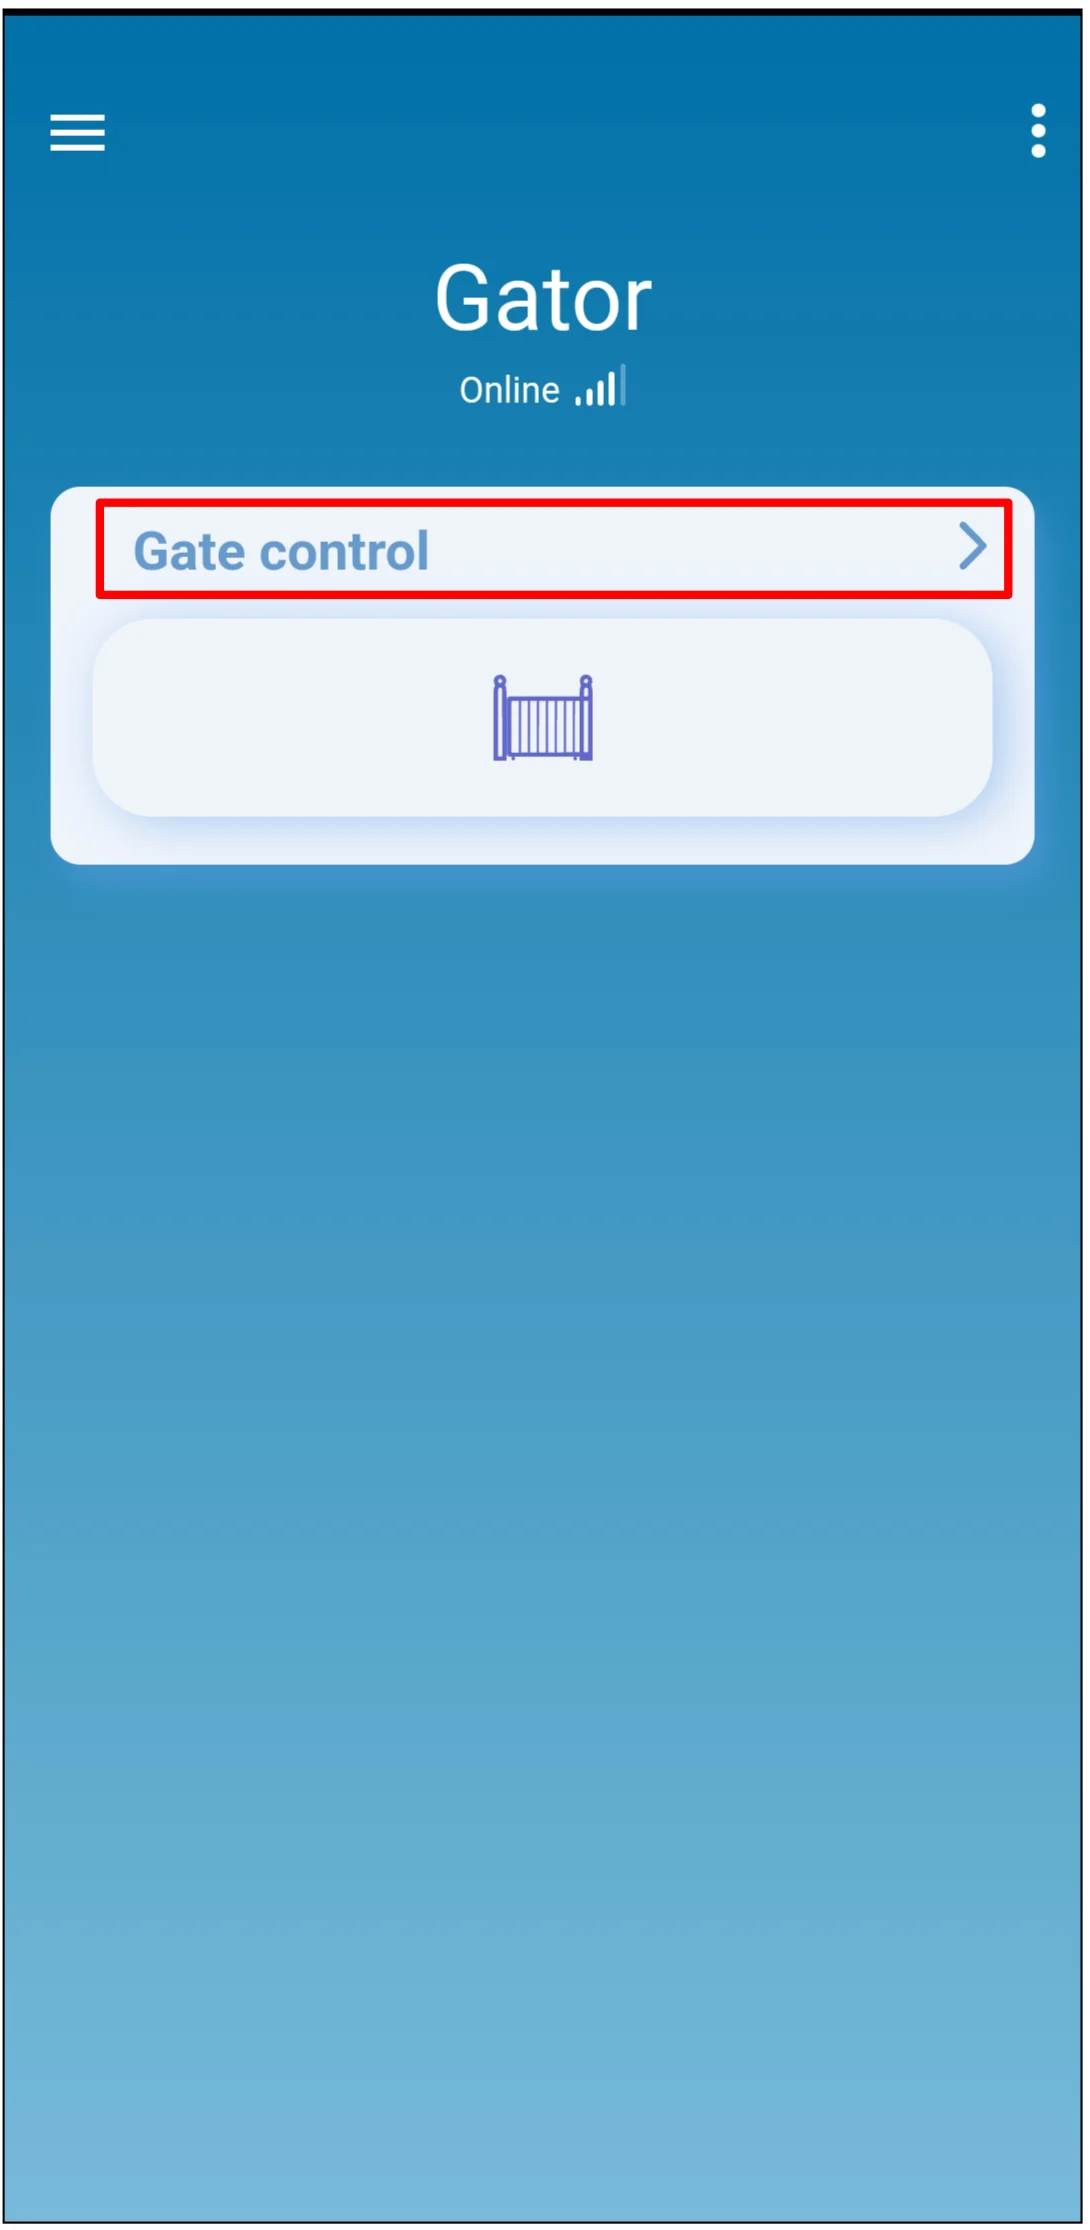
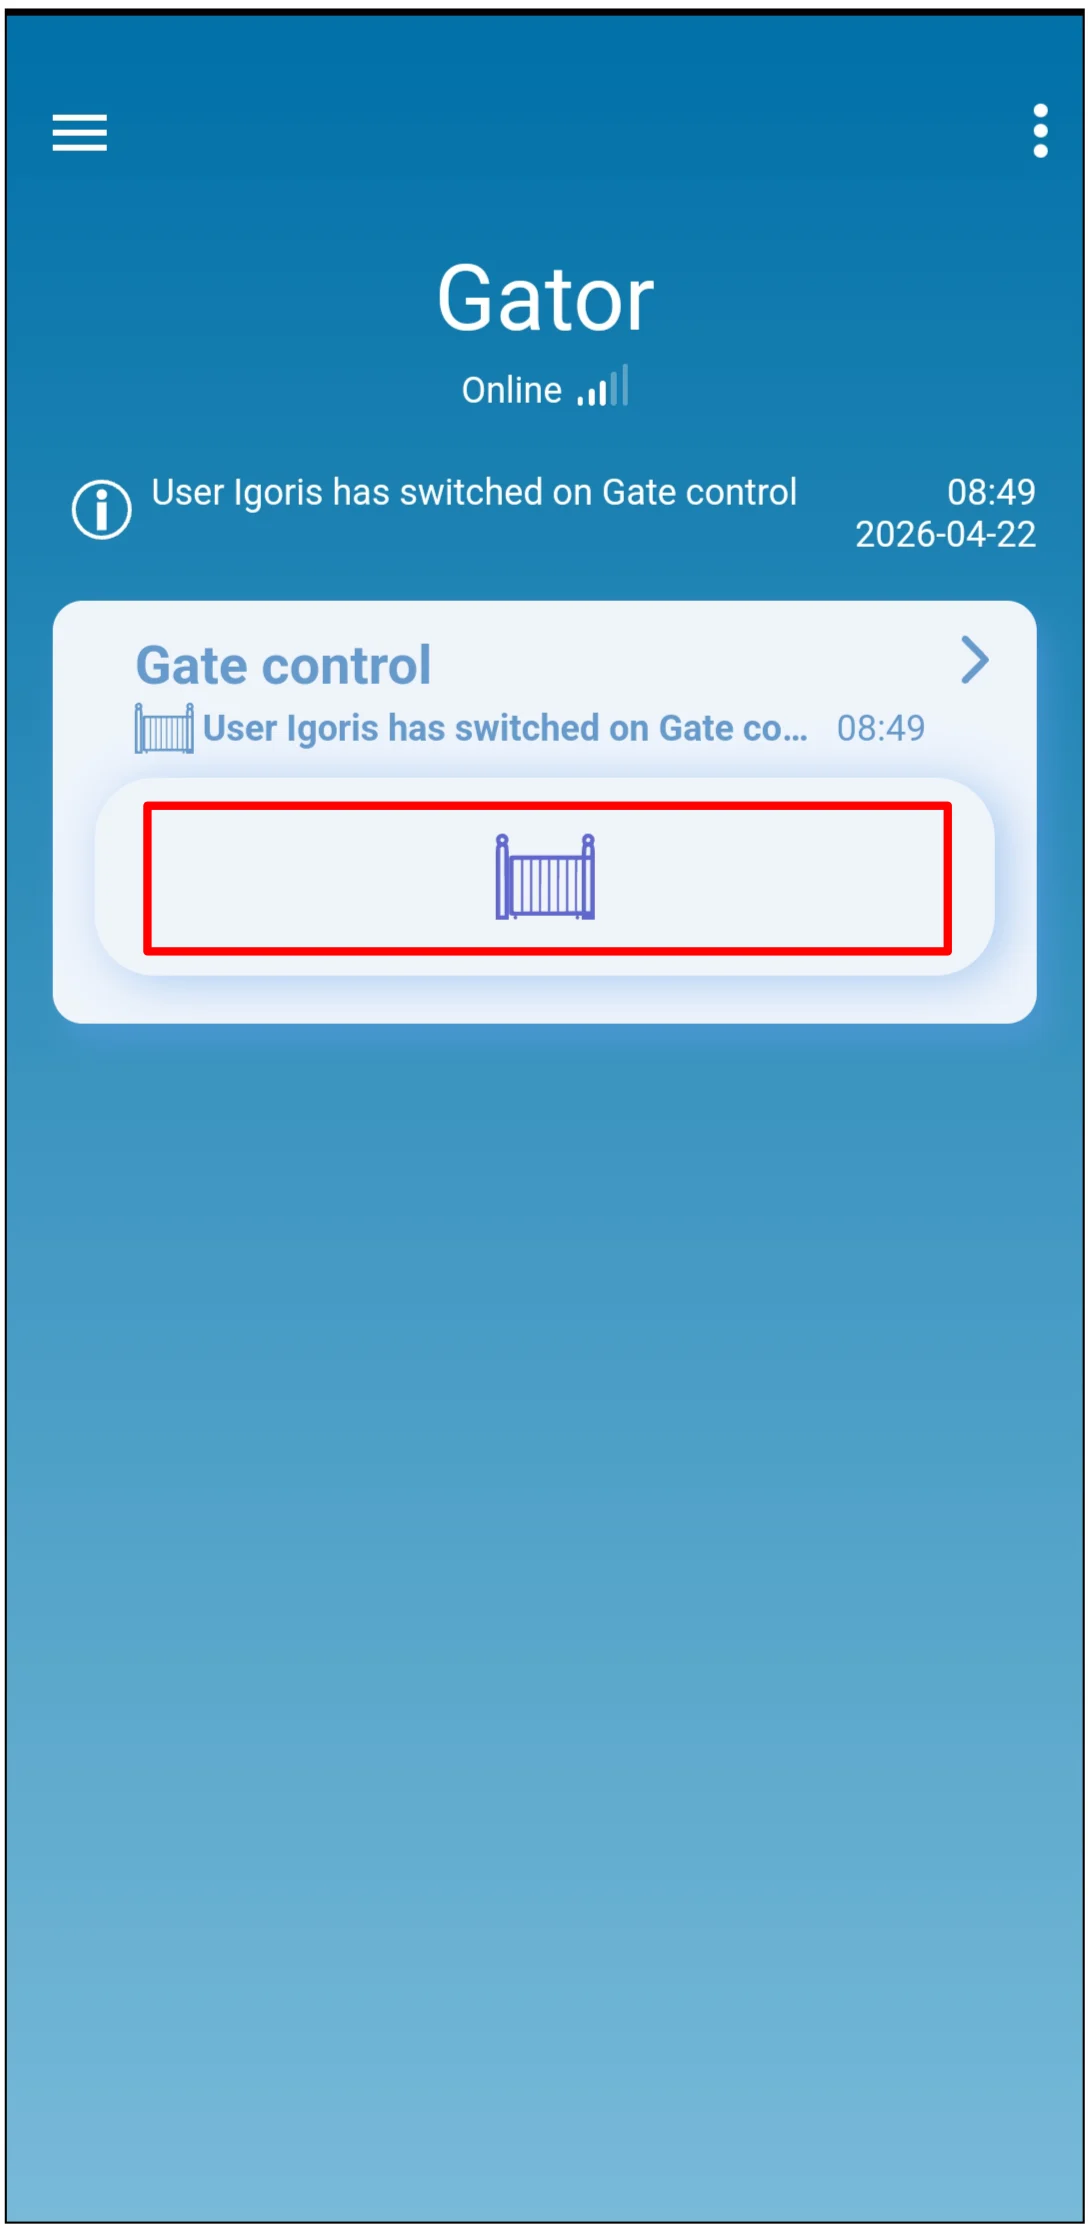
5. Check gate monitoring and control
The user must log in to Protegus2 with their account after the transfer.
Warning
Bypassing a gate safety sensor can disable safety protection. Use bypass only as a temporary, authorized service action, and restore normal sensor operation before leaving the installation in service.
6. System check
- Open and close the gate fully, then confirm that the cycle counter changes as expected.
- Trigger each monitored iO4R input and confirm that the input status changes in Protegus2.
- Test the gate control icon and confirm that the gate operator responds correctly.